


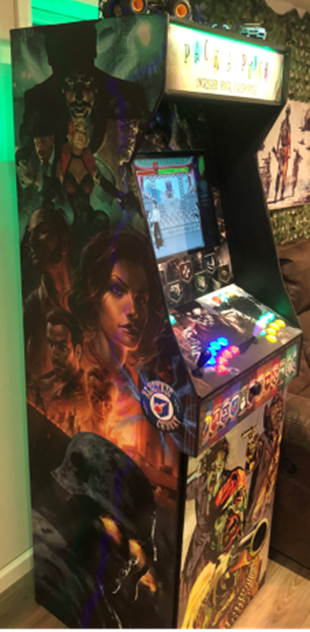
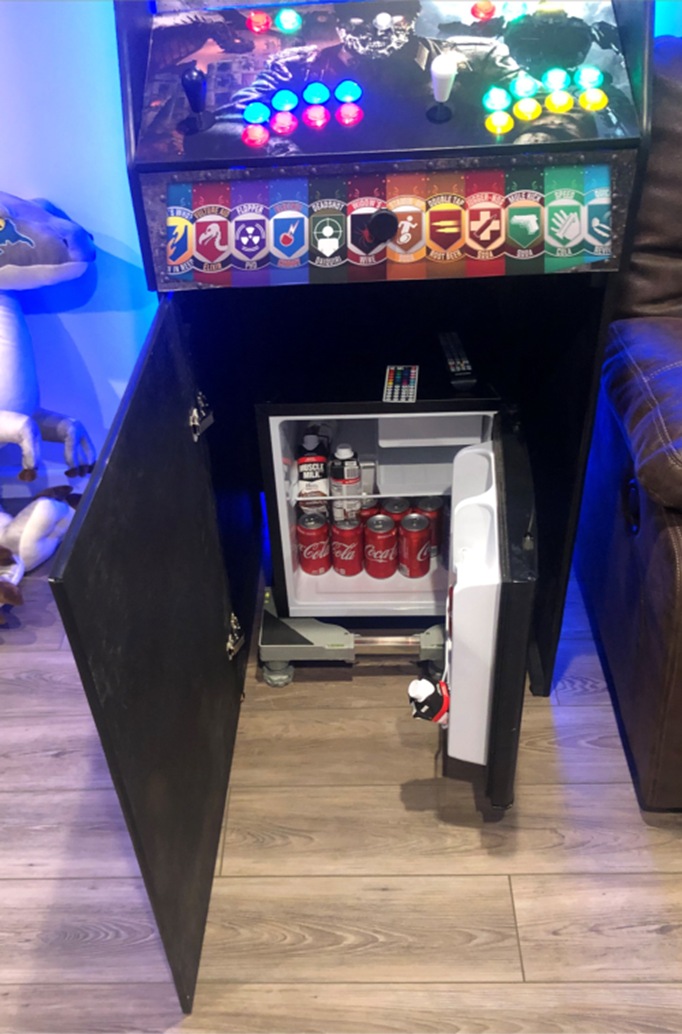
Searching the internet and finding design ideas is quite easy. It appears that there are many of us out there looking for this type of project! In my searching, I decided to build my own design, inspired by Bernoulie’s Instructables post which included a section underneath for a mini fridge and also used the idea of a RaspberryPi driven emulator for the MAME Arcade (multiple arcade machine emulator). On his instructable page you will find his dimensions and walkthrough. It’s a good starting point and making it your own from his design is easy. You will see differences between my design and his as I opted for a tilted control board, USB ports, 10 button arcade, custom graphics, and trim. I also modified the mounting of the TV using a TV mount attached to 1×2’s. Also, he estimated costs on his build to be ~$500. Adding custom graphics and the new price of wood (including MDF), I was closer to $650 – $700
I am used to working with wood and the associated tools, but I am FAR from a carpenter like my man JC. You’ll want an assortment of tools including:
- Sawhorses
- Jig Saw
- Circular Saw
- Router
- Drill
- Respective drill bits
- Clamps
- Squares and a level
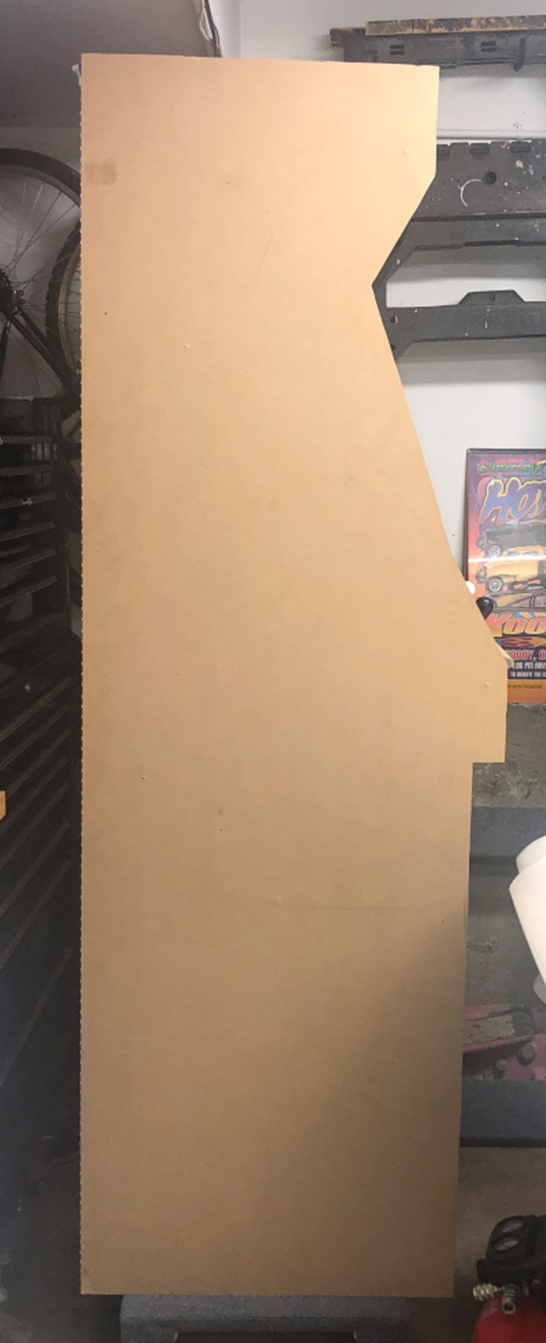
Using the cabinet design from Bernmoullie I sketched out my design on both pieces of MDF with a pencil, measuring tape, and square. Again, I adjusted for my sizing including converting MM to inches to get standard sizes I was use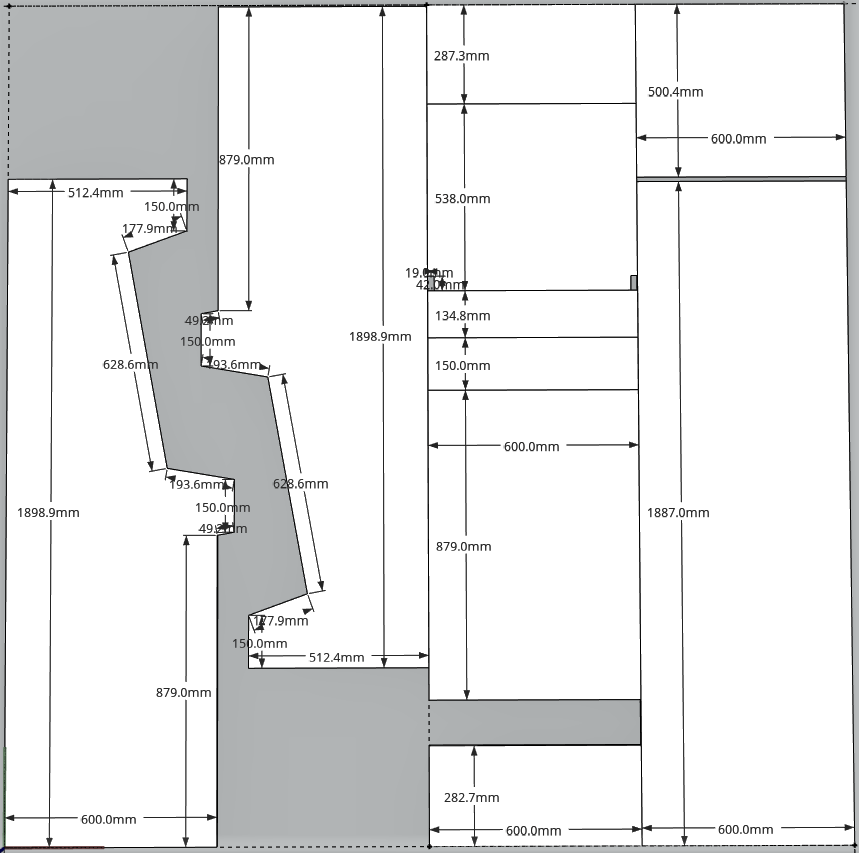 to and adjusting just slightly wider to accommodate my size mini fridge. Then I cut out the first side of the cabinet using a jig saw. Cut this side as exact as possible and support the MDF while cutting as the weight of the hanging side will break the MDF and probably in an unrecoverable spot. Really clean up this side and get the cuts as exact a possible, even sanding any wavy edges down to ensure a good final look.
Then I cut out the second side of the cabinet using a jig saw. I cut this one just outside the pencil line as I had a method to ensure both sides were exact. Once the side was cut away from the MDF I laid it on top of the perfectly cut 1st side and matched up the corners where the final fit would be perfect and clamped the sides together. Now this is key to making both sides identical: using a router with a straight edge cutting bit and bearing on the arbor. Setting the depth to place the bearing against the perfect cut MDF side, run the router around the cabinet sides and this bit will ensure that both sides are matched exactly. Then I cut out the rest of the pieces from the MDF using a circular saw for all my straight cuts as exact as possible and sanding imperfections as needed. …. I say “I” a lot in writing this, but I made my son cut most of this so he got tool experience.
Now I stared trimming out the inside edges of the cabinet and the shelve areas using the 1×2 lumber. To get the right distance from the edge I would use a scrap piece of MDF to mark where the edge of the trim should sit to allow the attaching MDF pieces to lay nice and flat. As a caution, I pre-drilled every hole to keep from splitting the 1×2 wood. I also used the minimum number of screws needed. There were a couple occasions where I would drill the screw into the MDF and come out the other side. It is important to correct this and back out the screw. Then scrap off the bulge or imperfection on the smooth side and fill with wood filer and sand as needed. If you don’t do this, it will show up in your paint or be visible under any vinyl graphics.
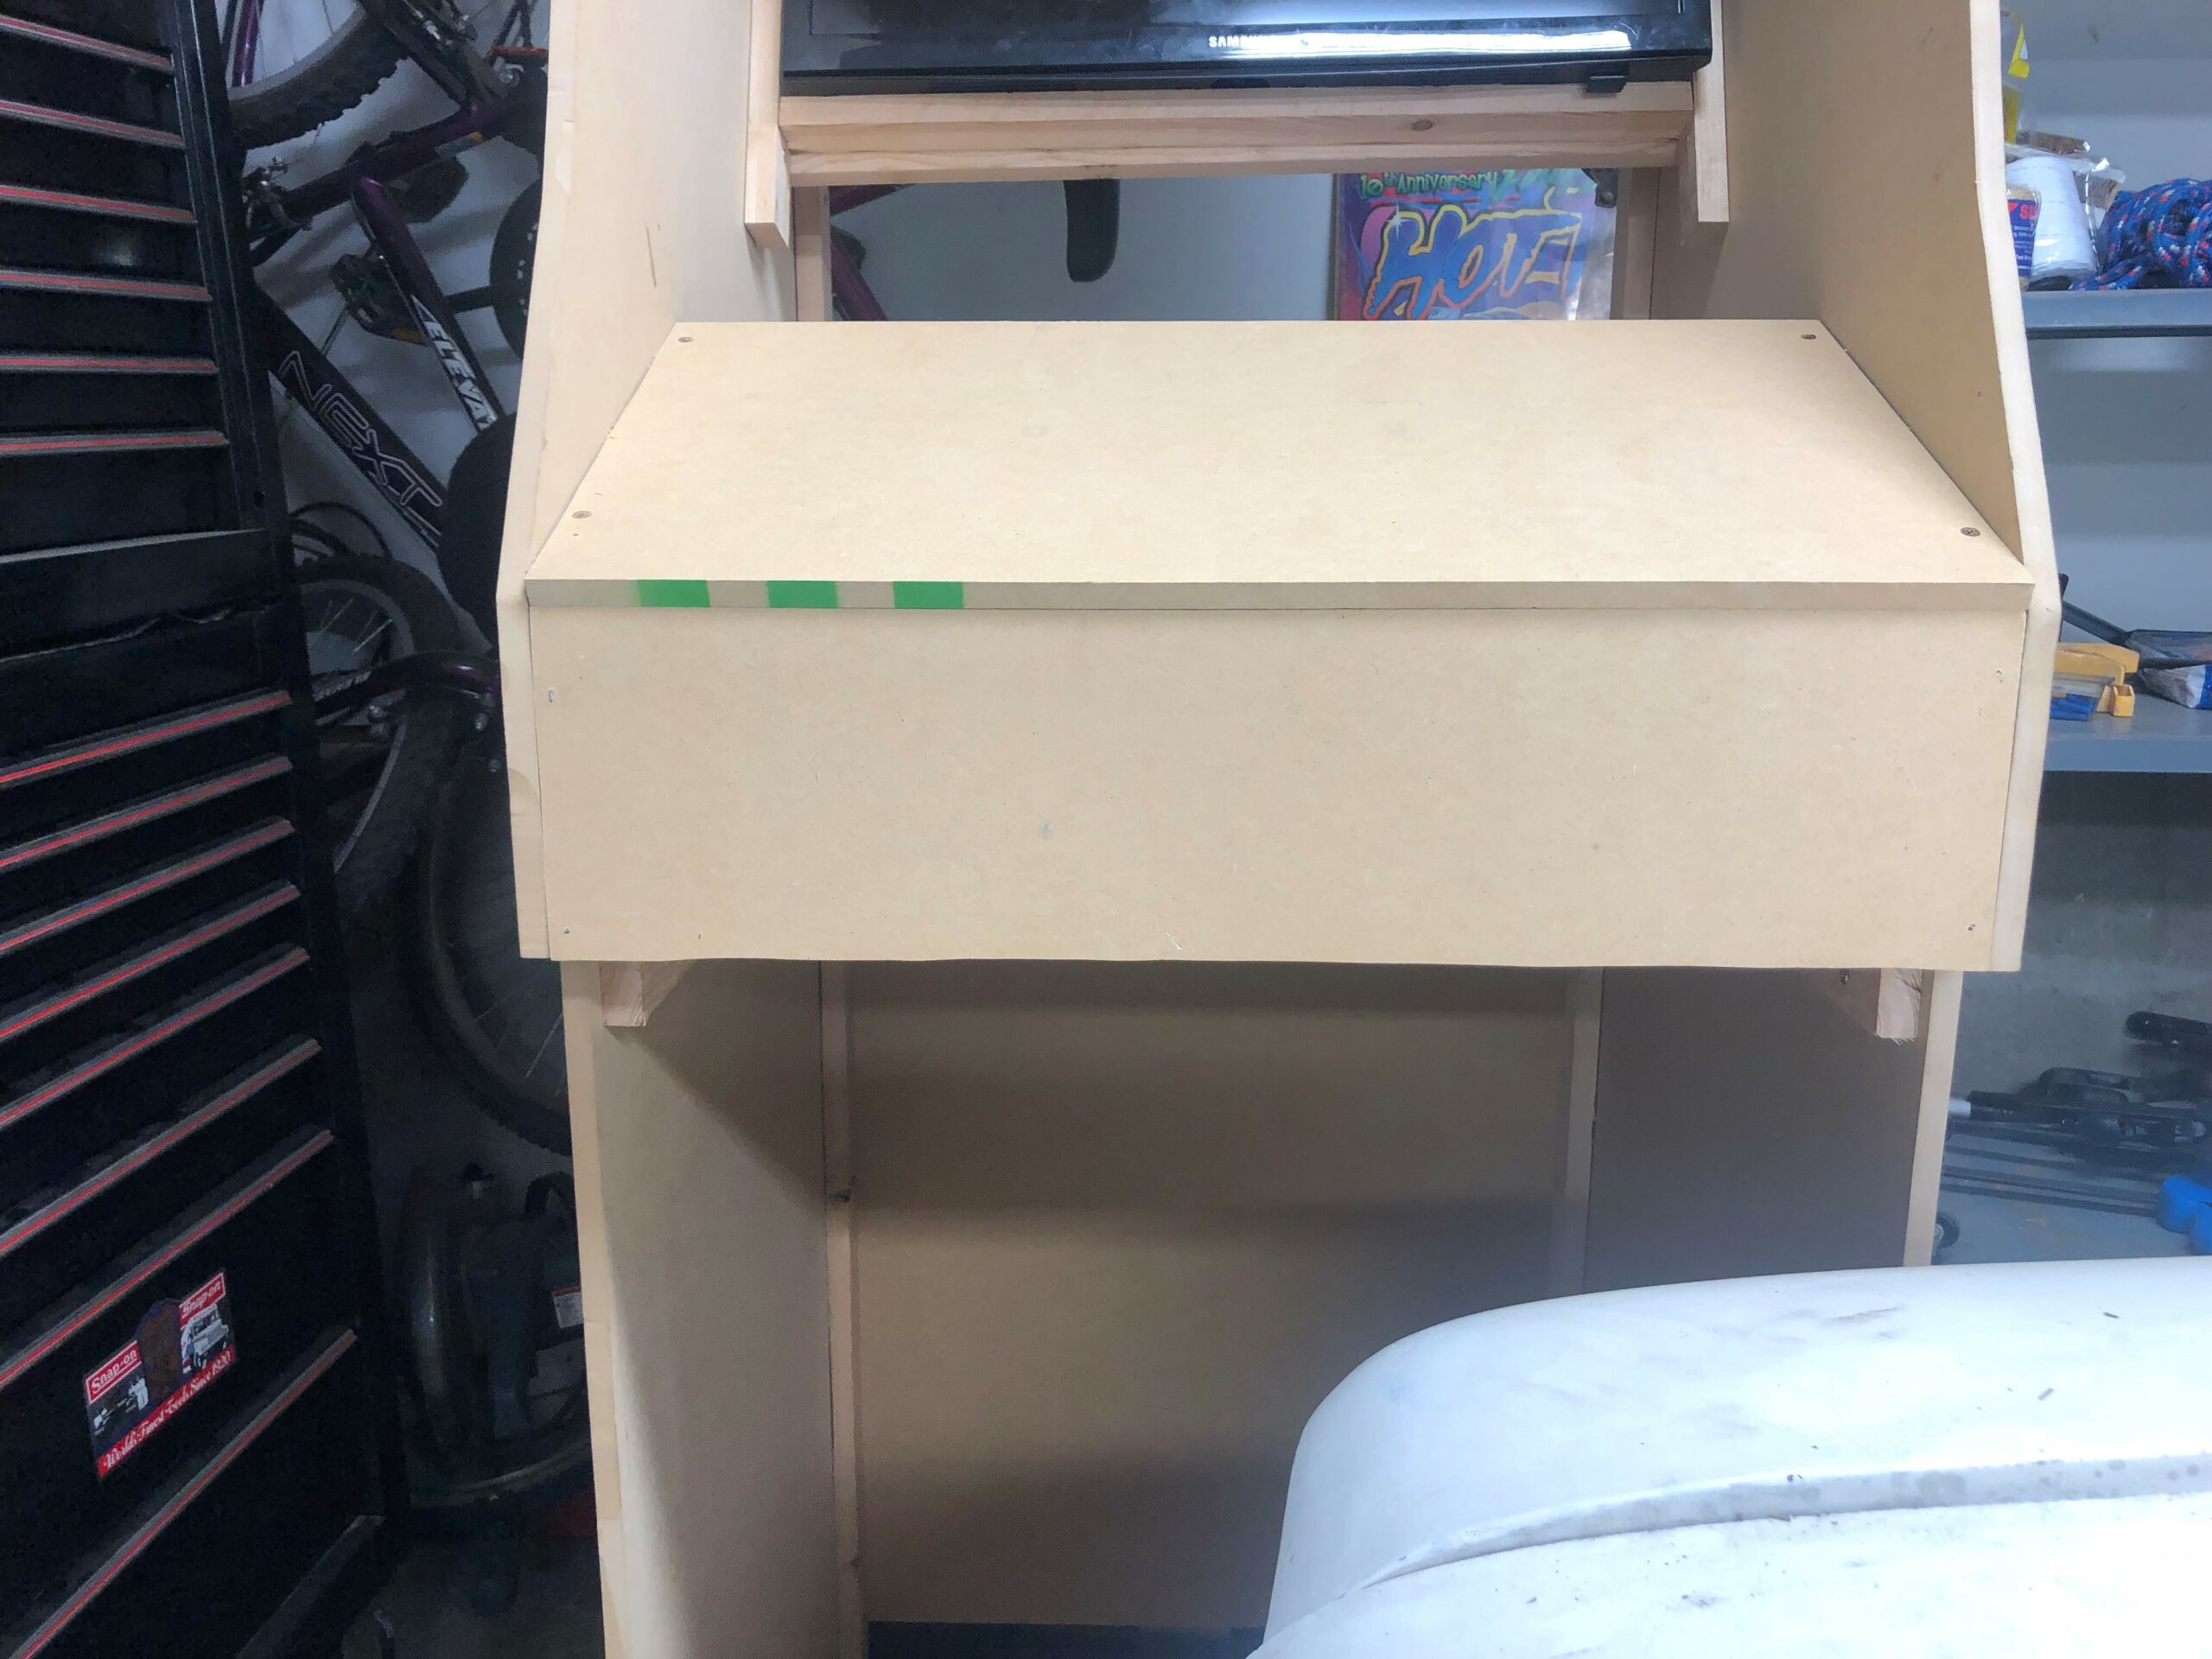
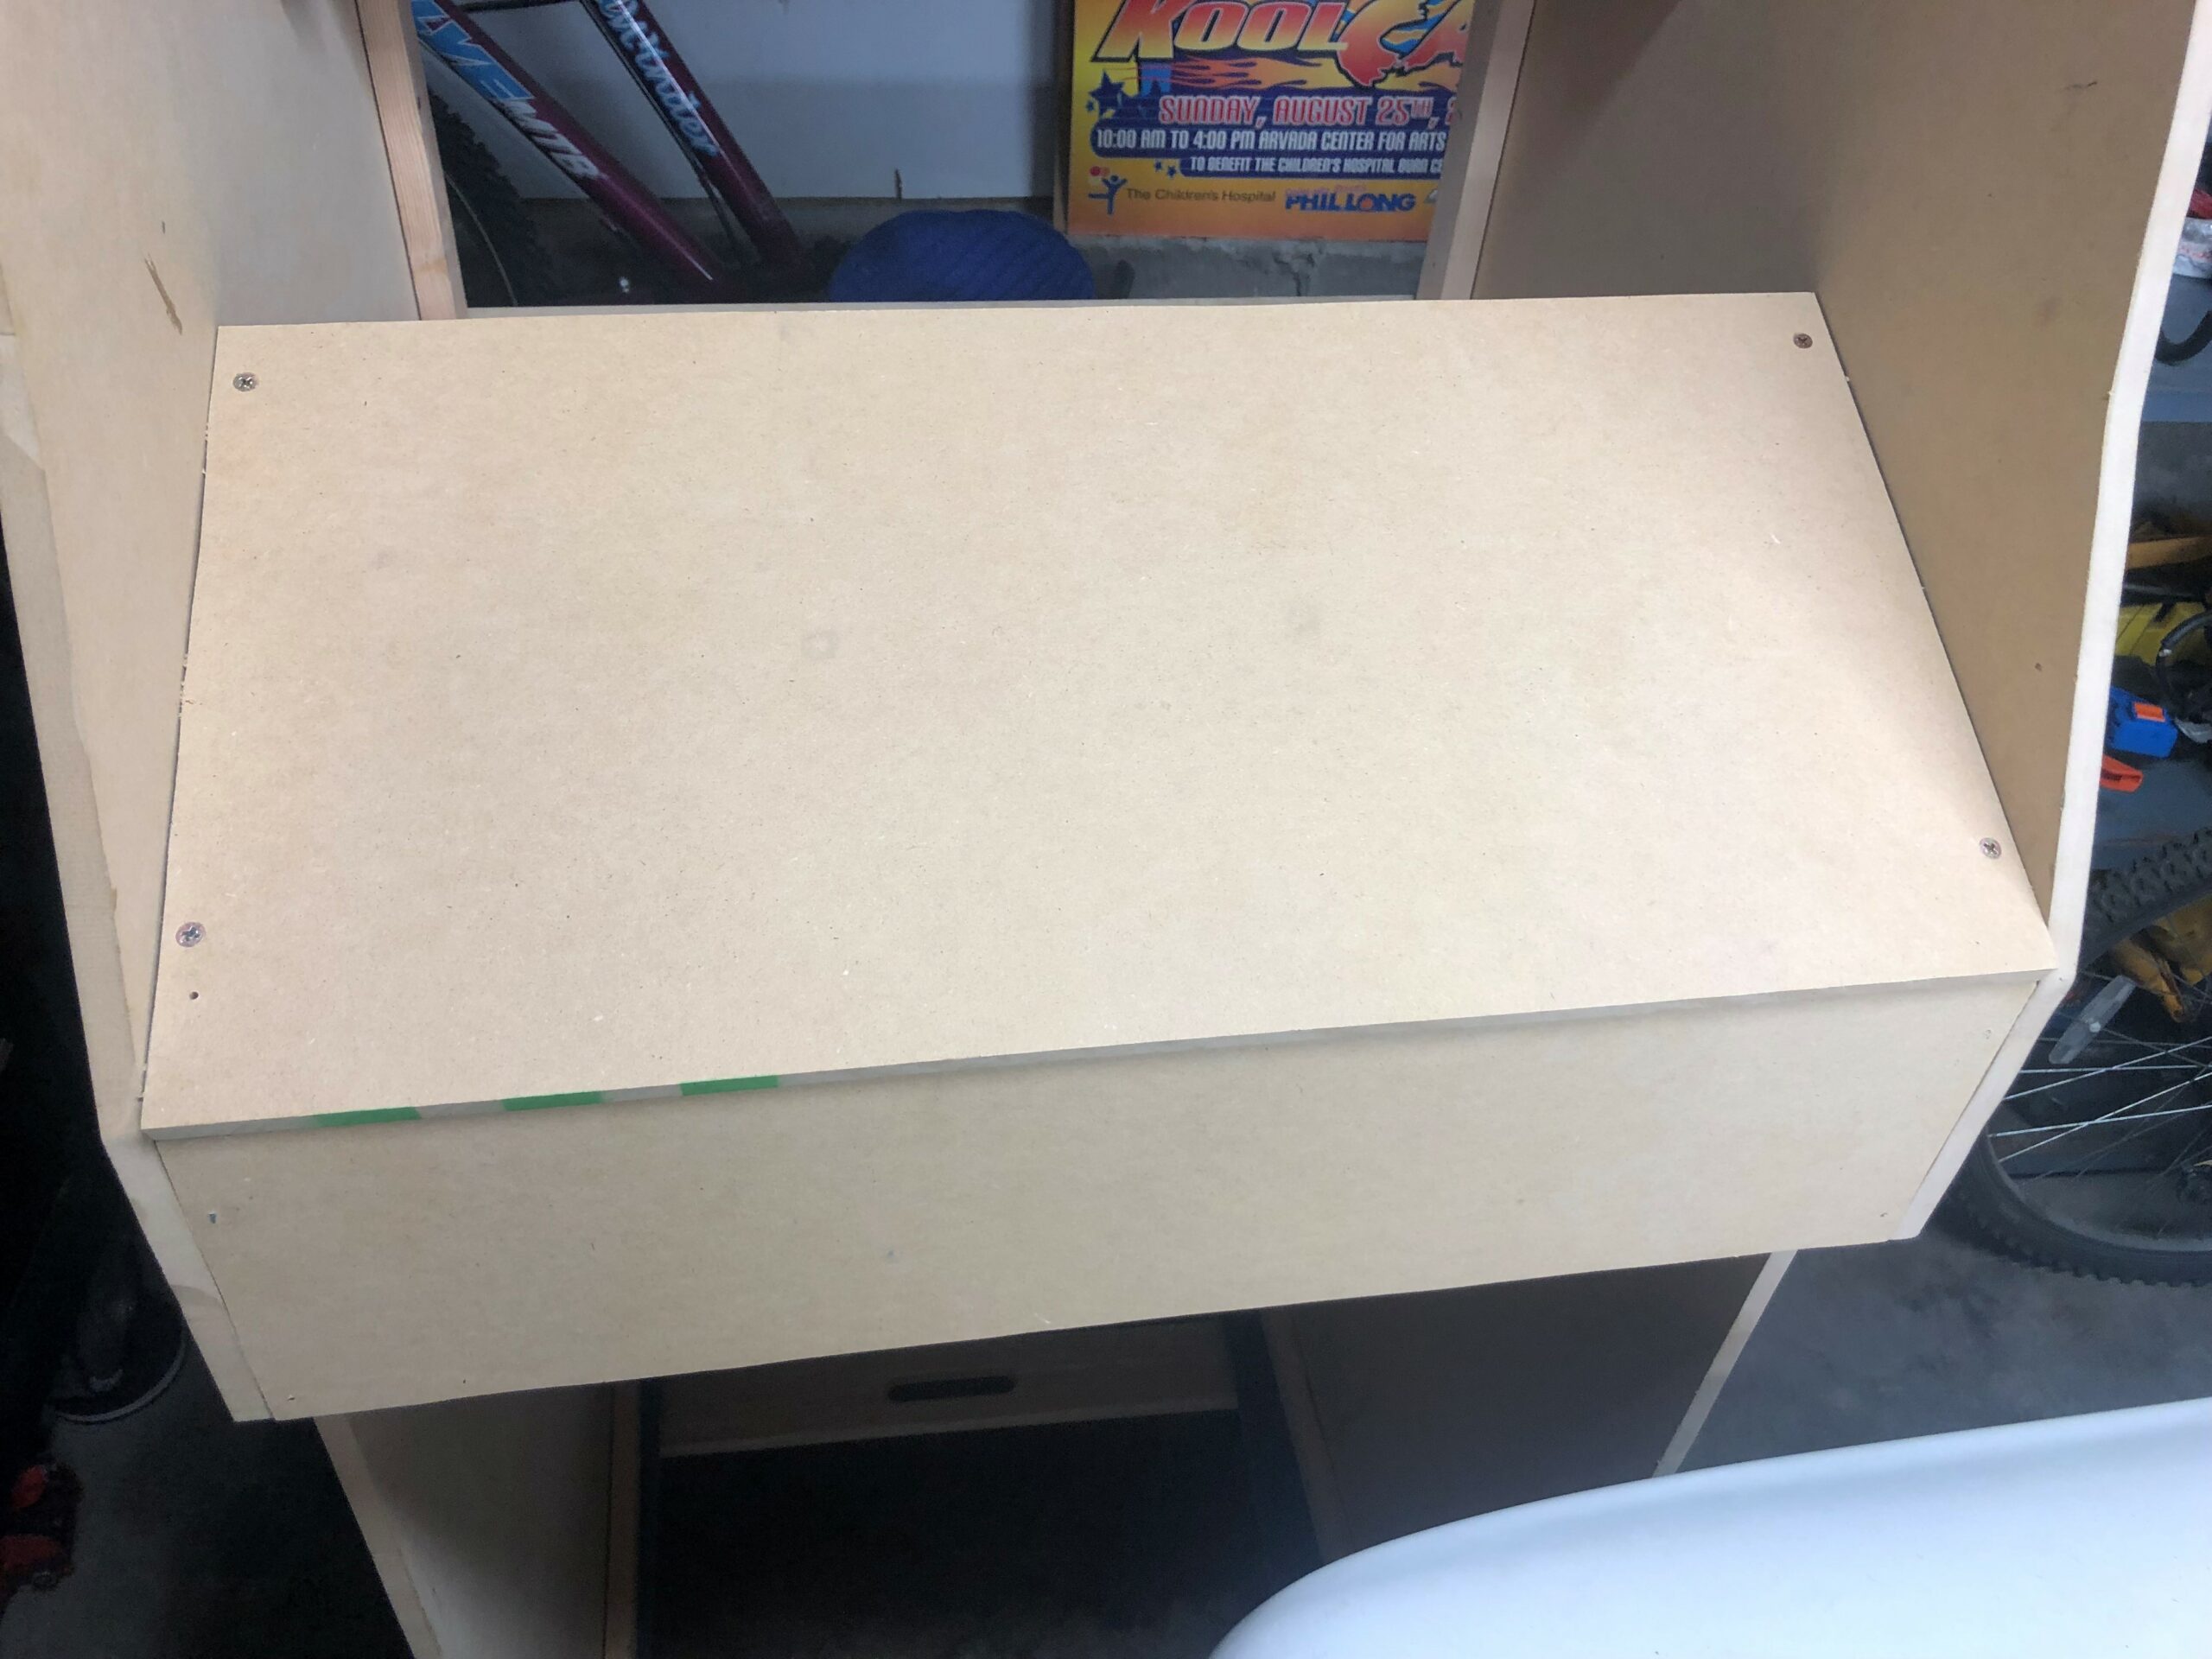
I began assembling the cabinet by attaching the back to one side and then to the other. I did not want a full back, so, I cut the bottom to ensure full coverage where the mini fridge would be, then I cut about a 15” high strip across the back for the top section (middle of the open space after placing the bottom back piece on). This left much of the back open, which is against a wall, so I could easily get to system components later.
Then I attached the top of the cabinet (flush to the top of the sides). Next, I attached the upper shelf area that would frame out the marquee. For the 1×2 wood pieces that the marquee will attach to, I still spaced it back the distance of 2 MDF like Bermoullie suggests. However, we will be putting plexiglass there. Now work on attaching where you want the control board to be. Adjust the 1×2’s as needed to get the angle you want. I did not like having the control deck flat, it seemed awkward on my wrists, so we chose to angle ours I didn’t worry about drilling the holes for the arcade joysticks yet. Now we attached the façade just below the control board. We also went ahead and mounted the door but then took the door off as we still needed to paint the back of the door and would need to apply the vinyl graphics, so that could wait to be put back on.
 Now that we had the cabinet essentially built, we painted the inside of the mini fridge area, the back side of the cabinet, the inner sides, shelves and inside marquee areas. We painted this in black. We then painted the sides with the clear urethane. This part was important if you are going to apply vinyl graphics. The vinyl stickers will not stick well to MDF that is not finished. So, a semi-gloss polyurethane coat helps ensure your graphics stay on.
If you are going to apply molding to the edges, then it is time to slot cut. You could have done this before assembly for better control, but I waited. I slot cut (with router and slot cutting blade) the front edges of the side, the top of each side, the door, the bottom of the control shelf, and the front of the marquee area. We did not slot cut the back because that is where we applied the LED lights.
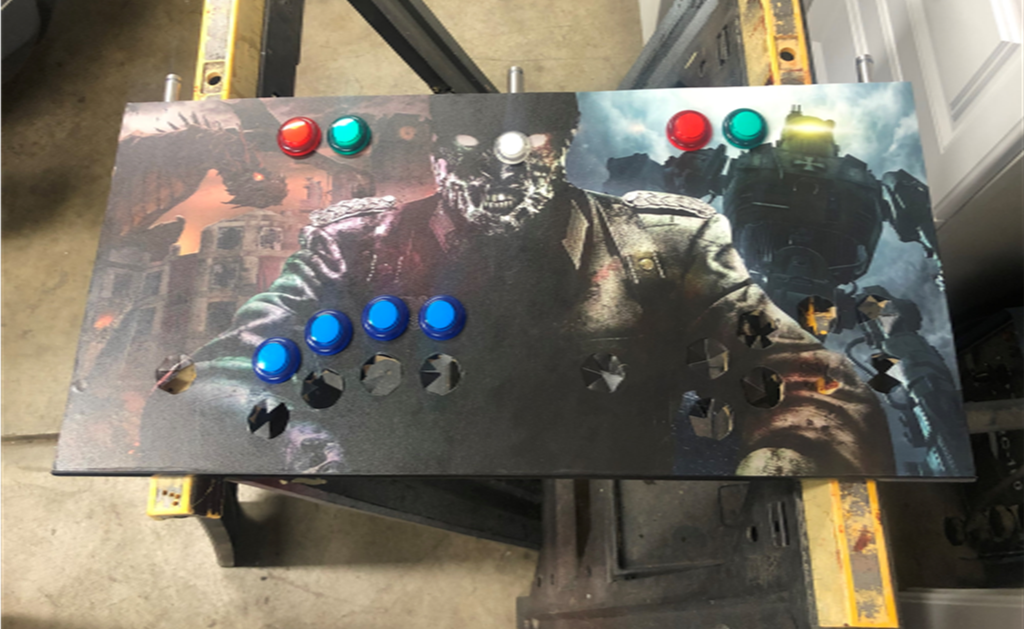
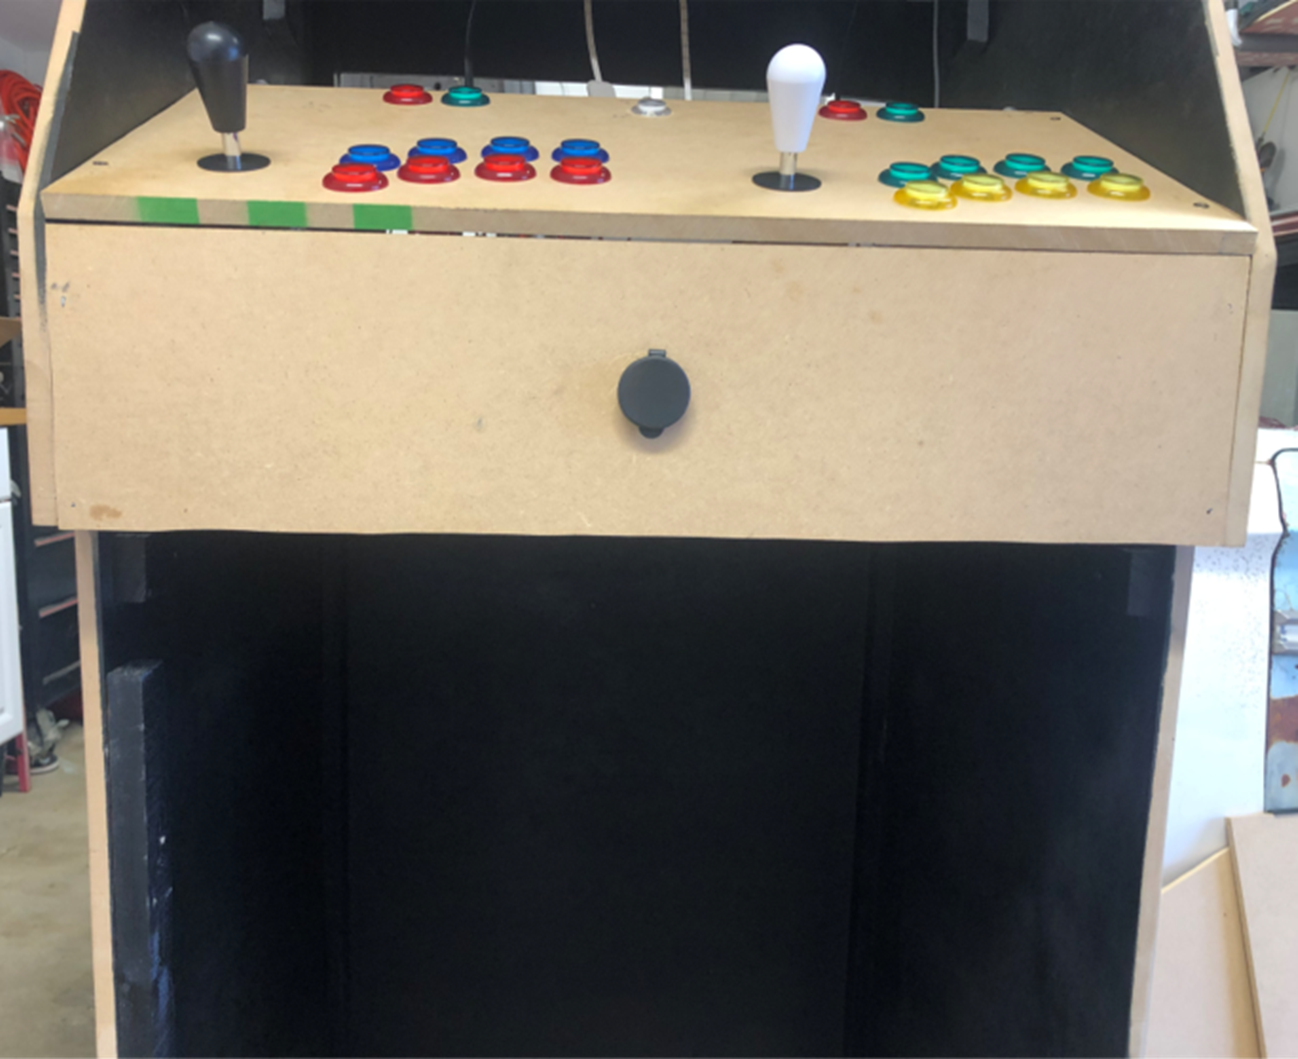
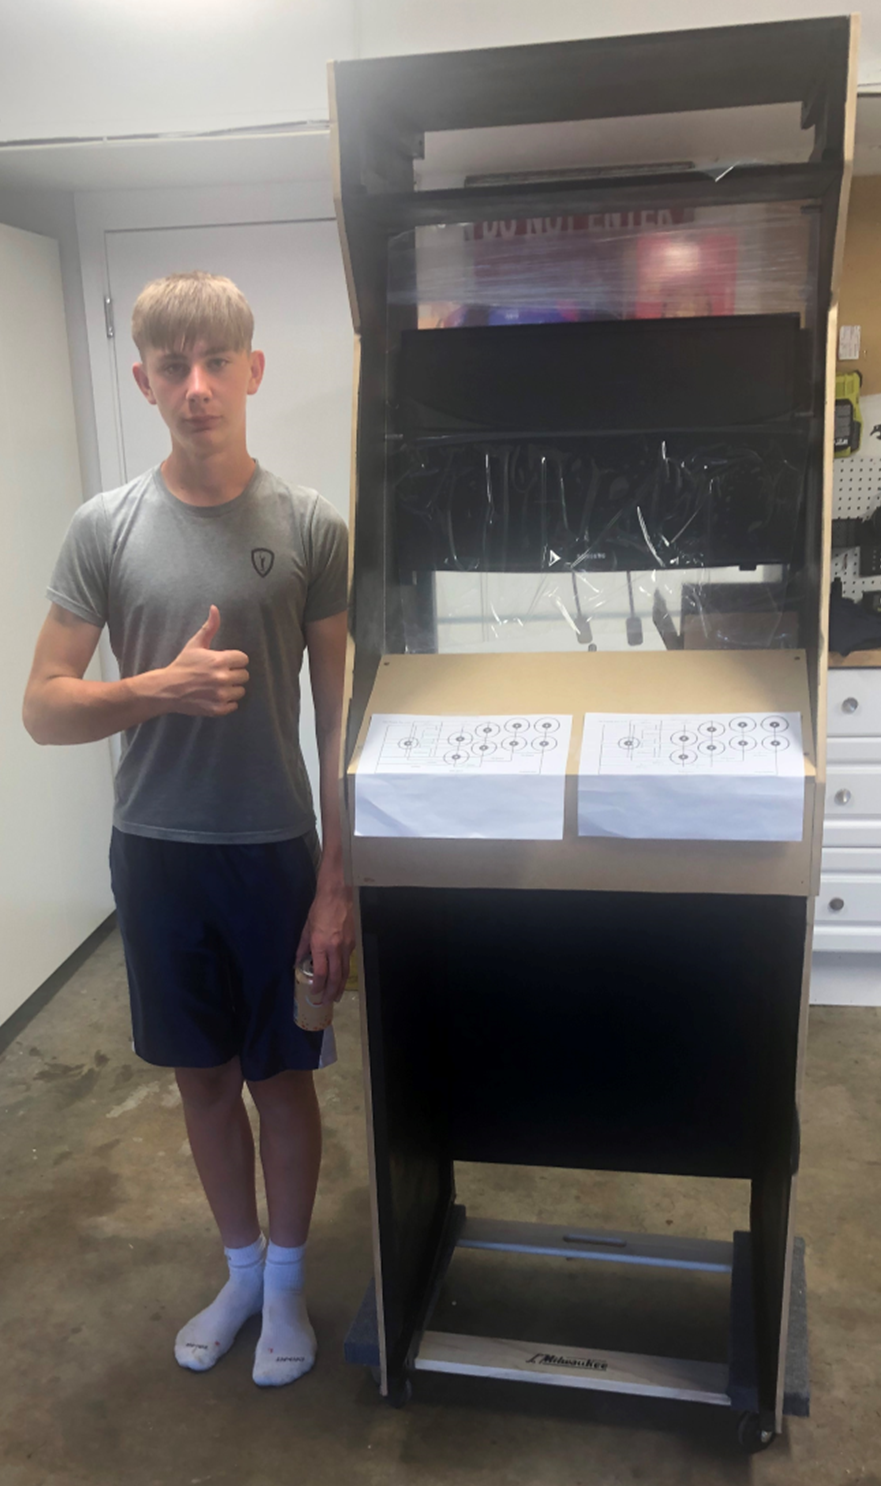
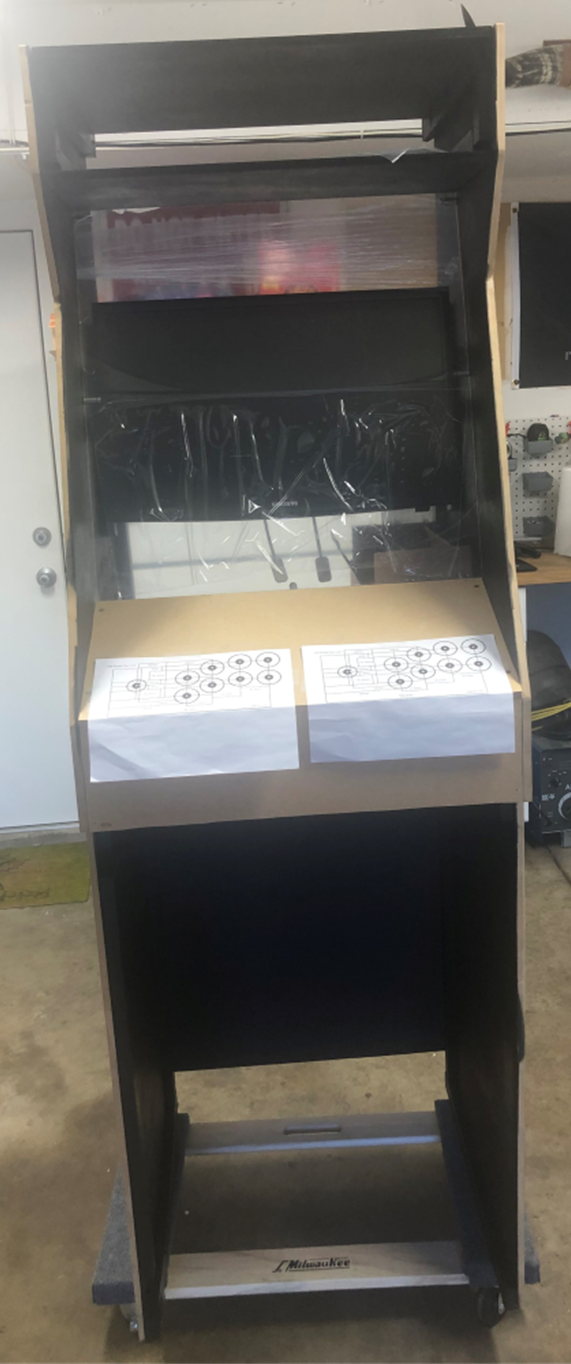
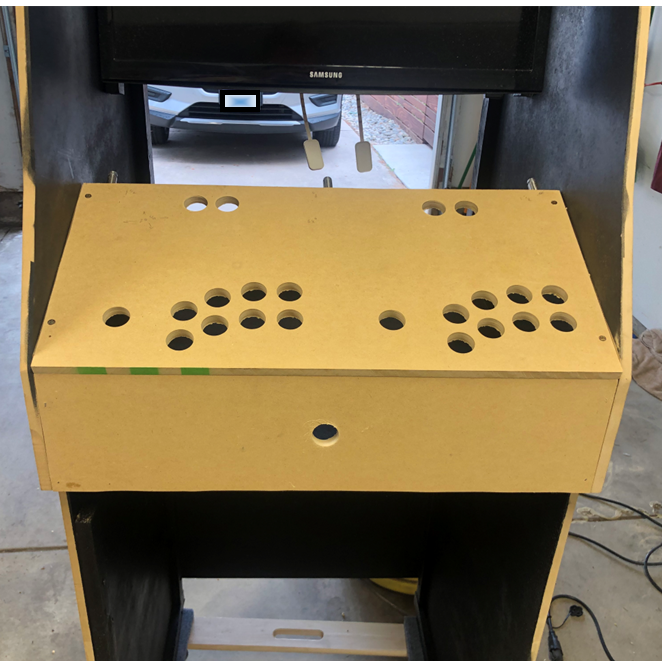 This is where we measured the area for the glass bezel and the marquee and ordered the acrylic., While we waited for the plexiglass to be cut and delivered, we removed the control panel and cut the holes for the arcade buttons and joy sticks. You really need to use a template to get the spacing right. We also used a template design from Slagcoin.com. If you look at my finished board you will see I ordered some extra buttons. I used 8 buttons for play buttons, 1 for start, 1 for select, for each player. I also used a smaller button in the middle as a “HOT Key”. Hot Keys enable you to exit a game to select another game in the arcade … kinda like a menu button. After using the forstner bit to drill out the template we installed the buttons and joysticks for a dry run.
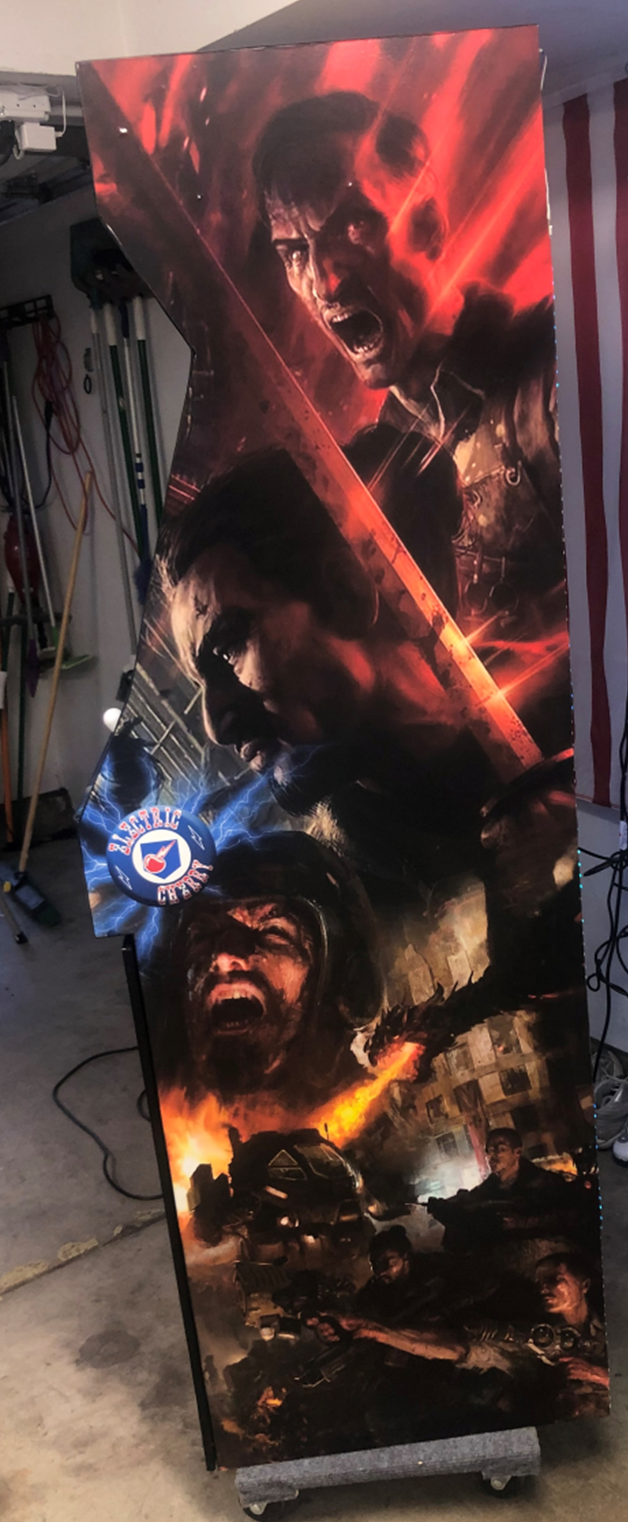
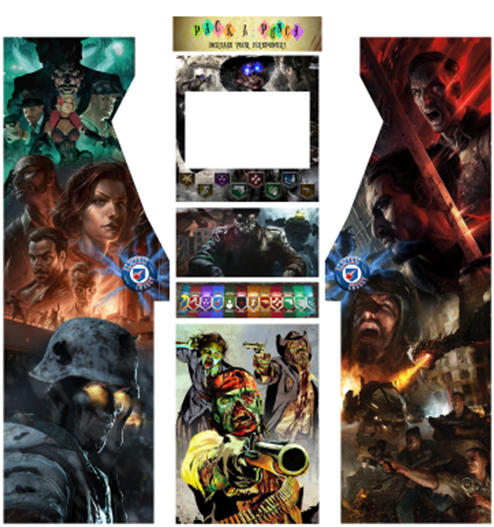 Now that we had the cabinet ready for graphics, or paint if you desire, we measured all the panels dimensions and I reached out to Game on Grafix. Working with Scott, we got our design ideas submitted to his graphic designer, Duke ([email protected]), who provided us with a rough design concept. After some minor changes we received the final proof and ordered the design to be printed. Overall, it took just under 2 weeks for the entire process of design to print, to arrival at my door. It was worth the wait. The design quality and printing was incredible.
When the plexiglass arrived, we fitted it into the cabinet. I had intentionally measured the glass a little long (vertically) to ensure the edges fit behind the control boar and the lower shelf of the marquee area. Holding the glass in place we mark 2 evenly spaced locations on each side to indicate the back resting edge of the glass. Using wood dowels and wood glue you can drill about a ¼ inch hole at the edge of where the backside of the glass will lay and place the dowels to help make the glass ridged when installed. You could also just use screws that stick out and accomplish the same thing, but I wanted a more finished look.
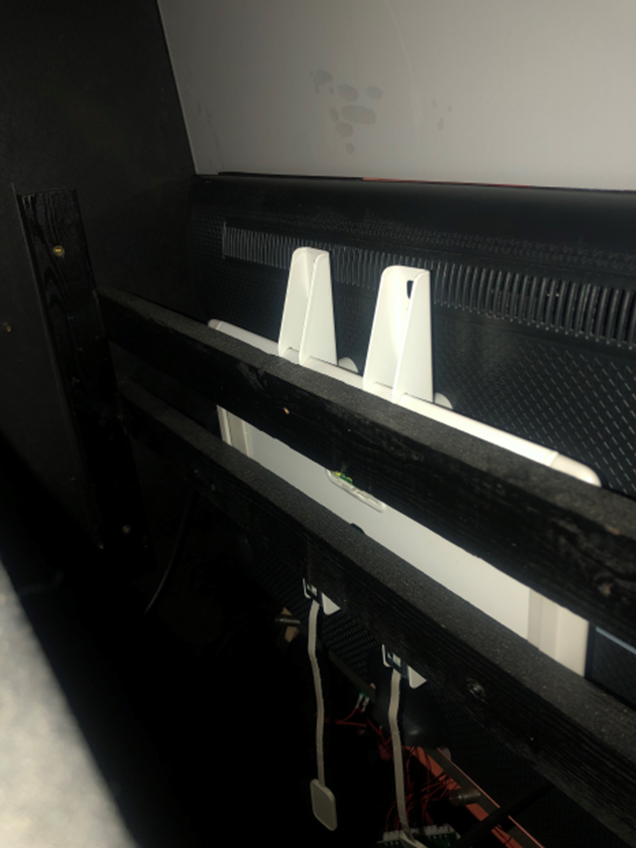
With the glass in place, we were able to rough in the TV (with mount installed and attached to 1×4’s) to find the right mounting location and angles of TV correct. After predrilling our mounting holes, we attached the TV and removed the plexiglass so that we could apply the bezel graphics when they arrived. We took this time to install the LED’s on the back and in the marquee area.
 When our graphics pack arrived, the first section we worked on was the control board. We reinstalled the screws into the MDF of the control board and made sure they were flush (countersunk). Then we took a drill bit that was just bigger than the shank of the screws and drilled out the holes in the frame where the control board fit. This allowed us to use the screws like metal dowels and set the board with glue on the frame and in the dowel holes.
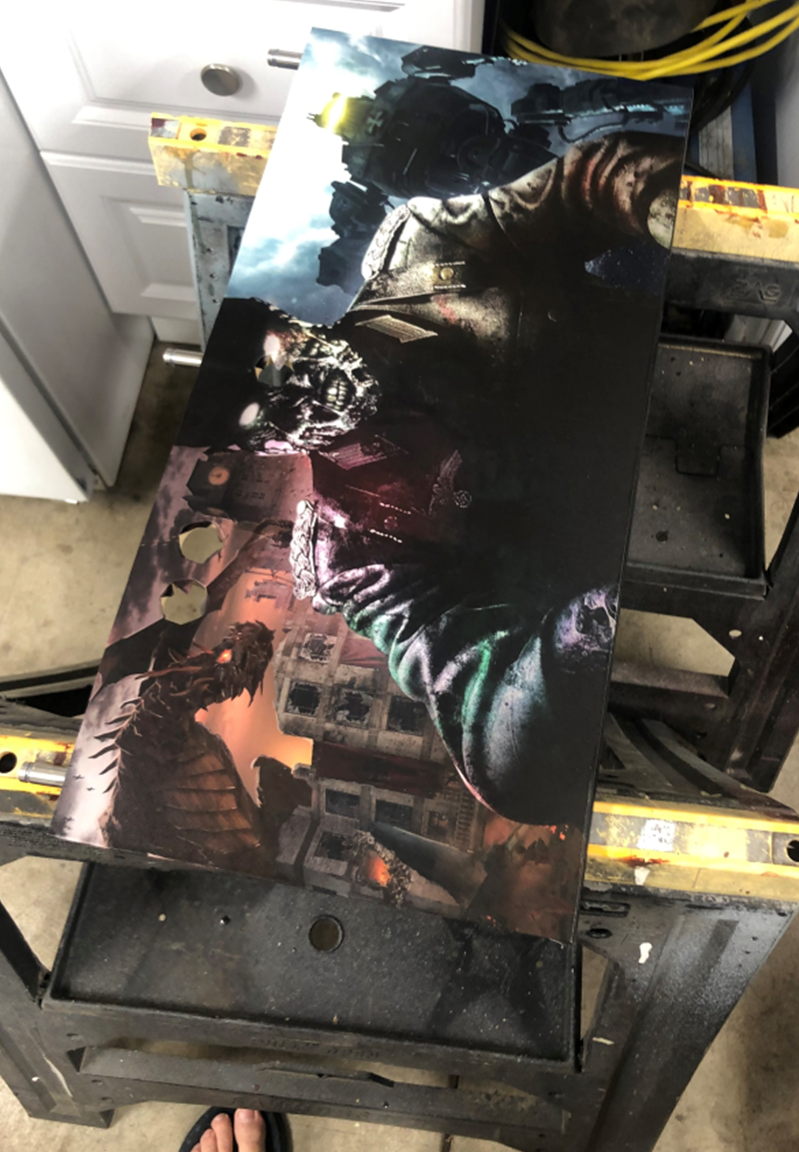
Application of these heavy-duty vinyl stickers was not that difficult. I peeled back about 6” of the backing and laid it on the control board, ensuring it was straight and had equal overhang for where the rest of the material would eventually sit. Using the felt tipped squeegee, I worked the sticker toward the unpeeled backing and would work the vinyl sticker in about 6”-10” sections until completely installed. I went back with the squeegee and worked out any bubbles and around the edges of each buttonhole. I then folded the sticker over the edges and only trimmed the areas that directly covered the slot for the T-Molding at the bottom of the control board. This gave it a seamless look and the T-Molding helped hold down the shorter trimmed section. Taking a razor blade, I made pie like slits in each of the control holes covered by the vinyl. I then pressed triangle shaped wedges of the sticker down into the control holes and reinstalled the components. Then we reinstalled the board to the cabinet (glue placed on frame and in dowel holes).
 The rest of the vinyl stickers were installed, and the T-Molding was hammered into the cabinet with a rubber mallet. Then the Marquee was installed by attaching to the marquee area frames using hook and loop fasteners (Velcro). The Bezel Sticker was bit harder to apply. It comes as a full sticker and you are required to cut out the dimensions of the TV so that when installed you can’t see through the glass to the inside wires, etc. of the cabinet. Pro Tip: after you cut the sticker according to your dimensions, you can install on the glass in the same manner you did the MDF. However, I would order some sticker application spray. I did not do this and I was lucky to get most of it right the first time, but ended up with a couple wrinkles and some bubbles that are now adding character to my bezel!
Congrats, the cabinet is done! Now to program the single board CPU and get to gaming!

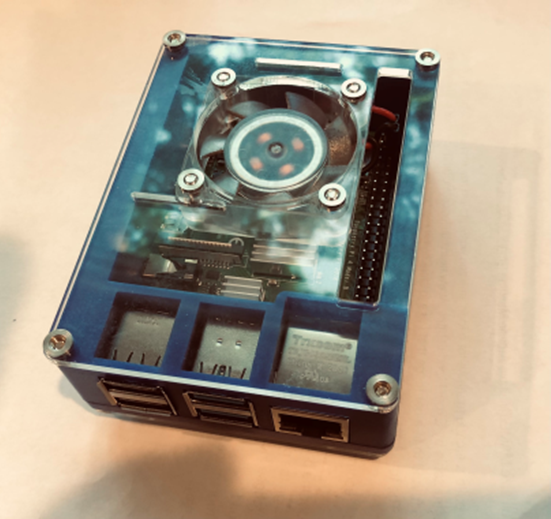
RaspberryPi 4 -4G RAM
My RaspberrypI 4 -4G in a custom 3d printed case. I bought the CanaKit which included heatsinks for the board, HDMI to mini HDMI cable, a 32G MicroSD card (which I could not use for this project because I needed more storage), USB-C power adapter, a fan, and a standard case.
I downloaded and read more about this image on the Arcade Punks website. The download is huge, so it will take a while. You can use other images there too if you want, maybe a smaller one you can download without torrent?
A VPN is not required, the site is a legit site, but I like the anonymity and protection VPNs provide and the ad blocking. If you are looking for a recommendation, then I recommend SurfShark. overall it fit my needs with unlimited devices and lower cost than some of the other premium providers.
If you do choose to download the Rick Dangerous image, you will want to use a Bit Torrent client. There is nothing sketchy about using it, but it is the best way to transfer large files like this over the internet, it is faster, and can grab data from multiple locations. Use any Torrent client. You can even search extensions in you browser and add one of your choice that way. Just be sure to download to a destination drive, external or internal, on your CPU that has enough space.
 Once you have downloaded the image, it is now time to flash it to your MicroSD Card. I did this using balenaEtcher. This program is simple to use and validated your image after flashing. simply insert your microSD card (via USB adapter if required) into your computer. Select your source file (your download) and select your destination (be sure to pick your microSD). Then hit Flash. balenaEtcher does the rest. That’s it! remove your microSD card and insert it into your Pi.
Now it is time fire this bad boy up! I installed my Pi into a case, put on the heat sinks, and installed the fan. Then I hooked up the USB arcade controls to my Pi’s USB ports, connected the HDMI cable to the TV and to the HDMI0 mini port on the pi, (it matters which HDMI port you plug into. Make sure it is in HDMI0). Connect the Pi to power and switch on! The first boot will take a while as the Pi expands the file system, etc…. but eventually you will boot to a screen (after the intro) where it informs you that “gamepads” were detected. Configure the controllers and test out your ROMS.
You can do some customization in settings that establish WiFi (not needed), add bluetooth controllers (Xbox), and more. The arcade controls work perfect with all the arcade, NES, SNES, Playstation, and other 32bit and below console games. However, playing DreamCast, or N64 games is best used with a similar type wireless USB bluetooth controller. (all my bluetooth Xbox controllers sync directly with the emulator).
You will need to configure a hot button so you can exit games without turning off the Pi. You should always shutdown the pi from the main menu screen to avoid corrupting the image. Make sure you do not skip this in the controller configuration.
If you need more details, leave me a note. Otherwise, I hope you build a custom arcade, it has been a great project for us.
Great project! Thanks for sharing and the detailed instructions were easy to follow along!
Thanks Michelle! This was a worthwhile project and fun to do as a family. I’m glad you enjoyed the read.
What a n awesome project! Looks like a cool way to still have some family fun when in a lock down. I am hoping to one day make a game room item that mimics a switch built onto the TV. With your arcade build you have now made me want to add a mini fridge to it….
Great article. Glad you liked back he build. FFE is the latest final edition on Arcadepunks. And join my discord if you want to keep updated.
Hey Rick! Thanks for the comment. I joined your discord, not sure why I never saw it before, but I look forward to the conversation there!
https://discord.com/invite/yvsBMT2cGN
Back he build typo
Liked the build 😉
Thanks
Rick
https://book-ra-deluxe.com/