At first, I was installing Incredible PBX to play with the software in my lab and see how it worked compared to other offerings. However, I quickly shifted gears and put it in production at my home. I use it as my home phone service, side business phone, fax service, conference bridge, and telemarketer black hole. I am using the service on a couple VoIP phones I scrounged up really cheap and also to some plain old phones I had laying around via a VoIP to Analog Telephone Adapter (ATA). I forward some numbers directly to cell phones from the Incredible PBX server, set up IVRs, and a dial in conference bridge. After pairing it with an affordable SIP trunk provider, I average about 5 dollars a month for home phone service and I have never had an outage. It’s crazy, I’ll never do traditional phone service ever again.
Incredible PBX is very easy to install. I installed it on a Raspberry Pi 4 4G model and comments/instructions here are for that process. I am going to directly provide instructions right from Ward Mundy’s site (http://nerdvittles.com/?p=31977) .
Navigate to the SourceForge site here and download the PBX 2020 image (incrediblepbxfax2020.3.zip).
1. Download incrediblepbxfax2020.3.zip
2. unzip incrediblepbxfax2020.3.zip
3. Burn .img file to a microSD card
4. Boot new SDcard image from Raspberry Pi 3 or 4 and ensure it is plugged into ethernet for first boot.
5. From display/keyboard/network connected to Raspberry Pi,
login as root with password: password (OR USE SSH)
6. Go through the automatic setup procedure and resize SD card
NOTE: Use at least an 16GB card. 32GB/Type 10 card is recommended
7. After Phase I reboot, use SSH/Putty to login to RasPi,
login as root with default password: password
8. When the install completes, set the admin user password for GUI
access by running /root/admin-pw-change
9. Set admin Apache password for access to AsteriDex & Reminders
by running /root/apache-pw-change
10. Also set a very secure root password for SSH access. Run: passwd
11. Then point your browser to the IP address of your server and
login as admin with the password you set in step #8 above
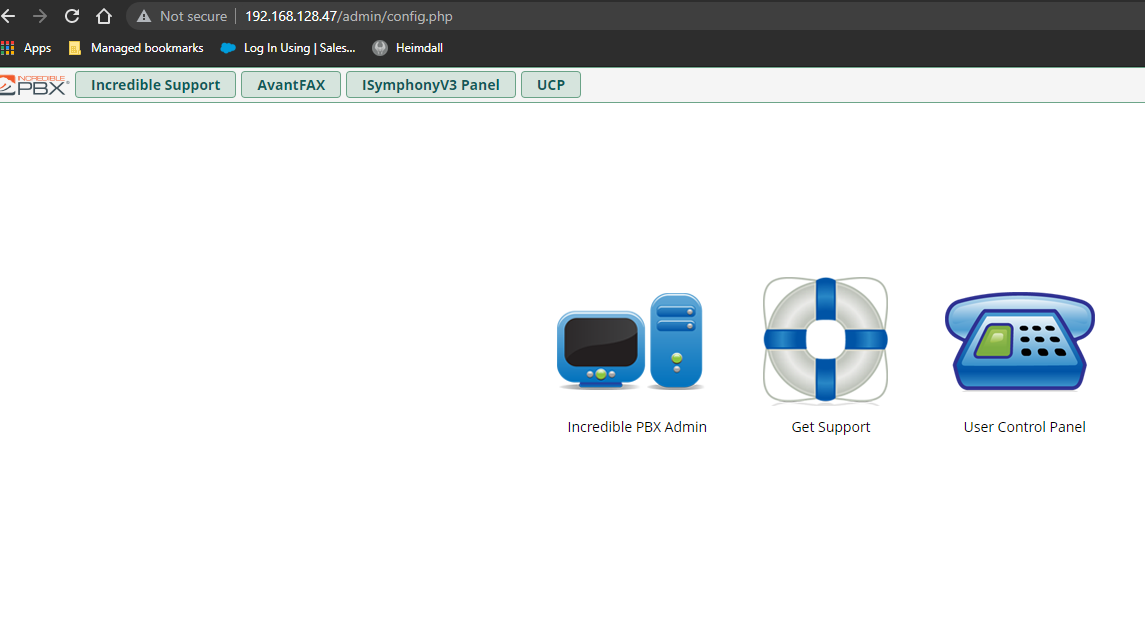
Seriously, that is it! it is ready to configure. If you run into any issues you can reach out to free support at: http://incrediblepbx.com/community/forums/
I decided to go with Skyetel for my SIP Trunks. They have a great deal for Incredible PBX users via Ward’s Nerd Vittles special. From his tutorial: ” take advantage of the Nerd Vittles Free $10 credit and BOGO special. Once you have registered on the Skyetel site and your account has been activated, open a support ticket and request the $10 credit for your account by referencing the Nerd Vittles special offer. Once you are happy with the service, open another ticket after funding your account and request that Skyetel match your deposit of up to $250. That gets you up to $500 of half-price calling. Credit is limited to one per person/company/address/location. If you have numbers to port in, you can do it at no cost after funding your account.”
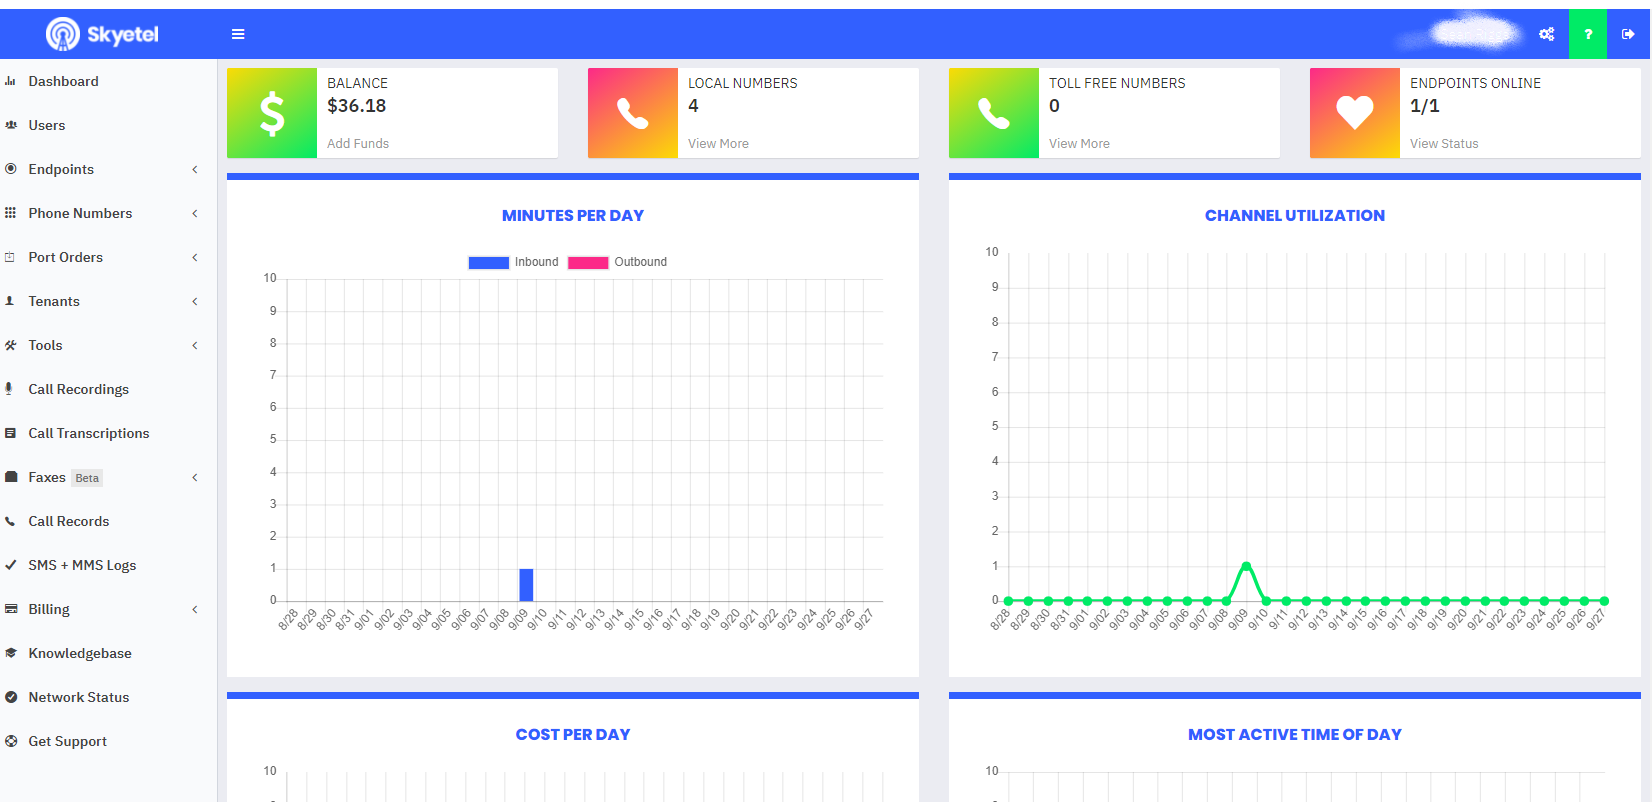
I followed exactly the tutorial nervittles provided and purchased new numbers from Skyetel:
“Skyetel utilizes Endpoint Groups to identify which servers can communicate with the Skyetel service. An Endpoint Group consists of a Name, an IP address, a UDP or TCP port for the connection, and a numerical Priority for the group. For incoming calls destined to your PBX, DIDs are associated with an Endpoint Group to route the calls to your PBX. For outgoing calls from your PBX, a matching Endpoint Group is required to authorize outbound calls through the Skyetel network. Thus, the first step in configuring the Skyetel side for use with your PBX is to set up an Endpoint Group. Here’s a typical setup for Incredible PBX 2020”:
Name: IncrediblePBX
Priority: 1
IP Address: YOUR IP ADDRESS HERE
Port: 5060
Protocol: UDP
Description: My Home PBX Name
To receive incoming PSTN calls, you’ll need at least one DID. On the Skyetel site, you acquire DIDs under the Phone Numbers tab. Once you have acquired one or more DIDs, navigate to the Local Numbers or Toll Free Numbers tab and specify the desired SIP Format and Endpoint Group for each DID. Add SMS/MMS and E911 support, if desired. Call Forwarding and Failover are also supported.
At this point you will have a PBX server that is ready to receive calls and a SIP Trunk Provider that is sending calls right to your PBX!
Now you are ready to set up your DIDs in the admin portal and set up IVR’s, extensions, faxing, music on hold, etc. Follow along in the Nerdvittles Guide to setup up your specific requirements.
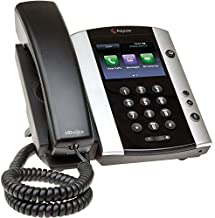
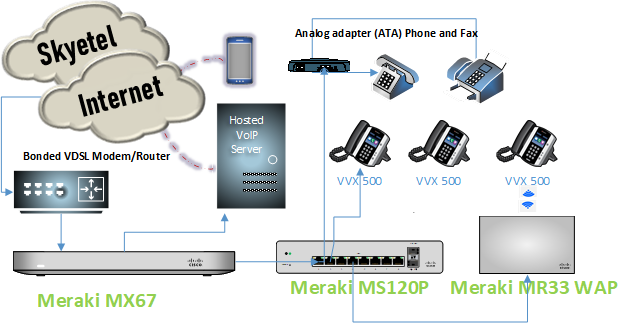
If you’re like me, once you have trunks pointed to your PBX, your next goal is getting dial tone to a handset or making a soft phone call! Since I decided that this would be an end solution for my home, I worked to get a couple VoIP phones set up and some analog handsets. For VoIP phones I used Polycom VVX 500. I have two of them. You can find them at reasonable prices on Amazon for about $35 a piece.
I set up one of my Polycom phones with POE, sitting on my desk in my office, and set up the other one with a wireless bridge in my living room. If you get a wireless adapter, they are reasonably priced as well and it lets you install a VoIP phone where you do not have a ethernet drop. I used a Vonets Wireless Bridge. I followed the instructions that came with it and it installs in minutes. It is also compatible with Polycom phones. If you go this route, validate the wireless bridge you use works with the VoIP phone you choose. 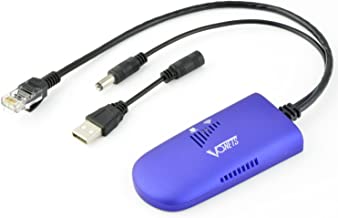
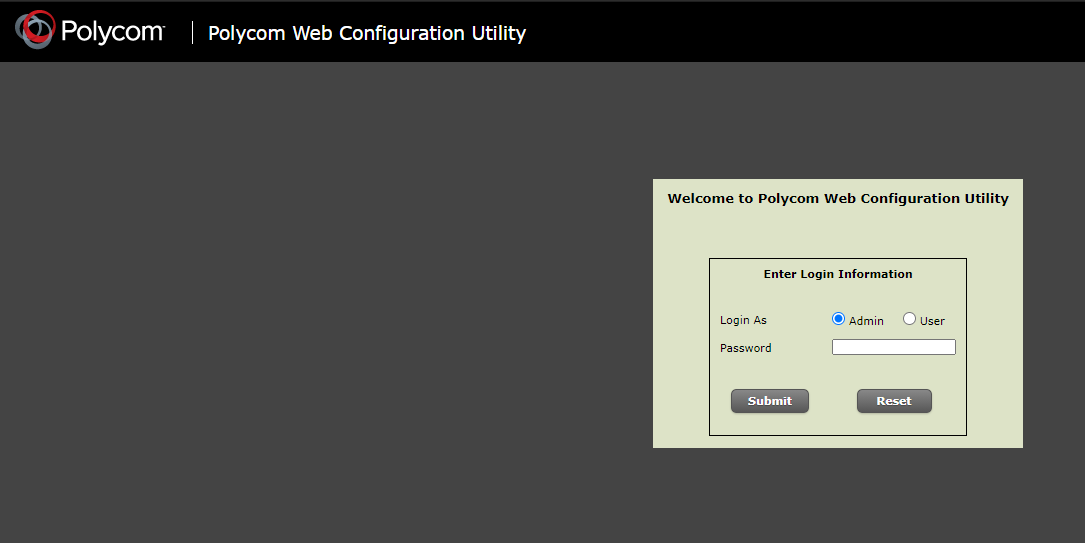
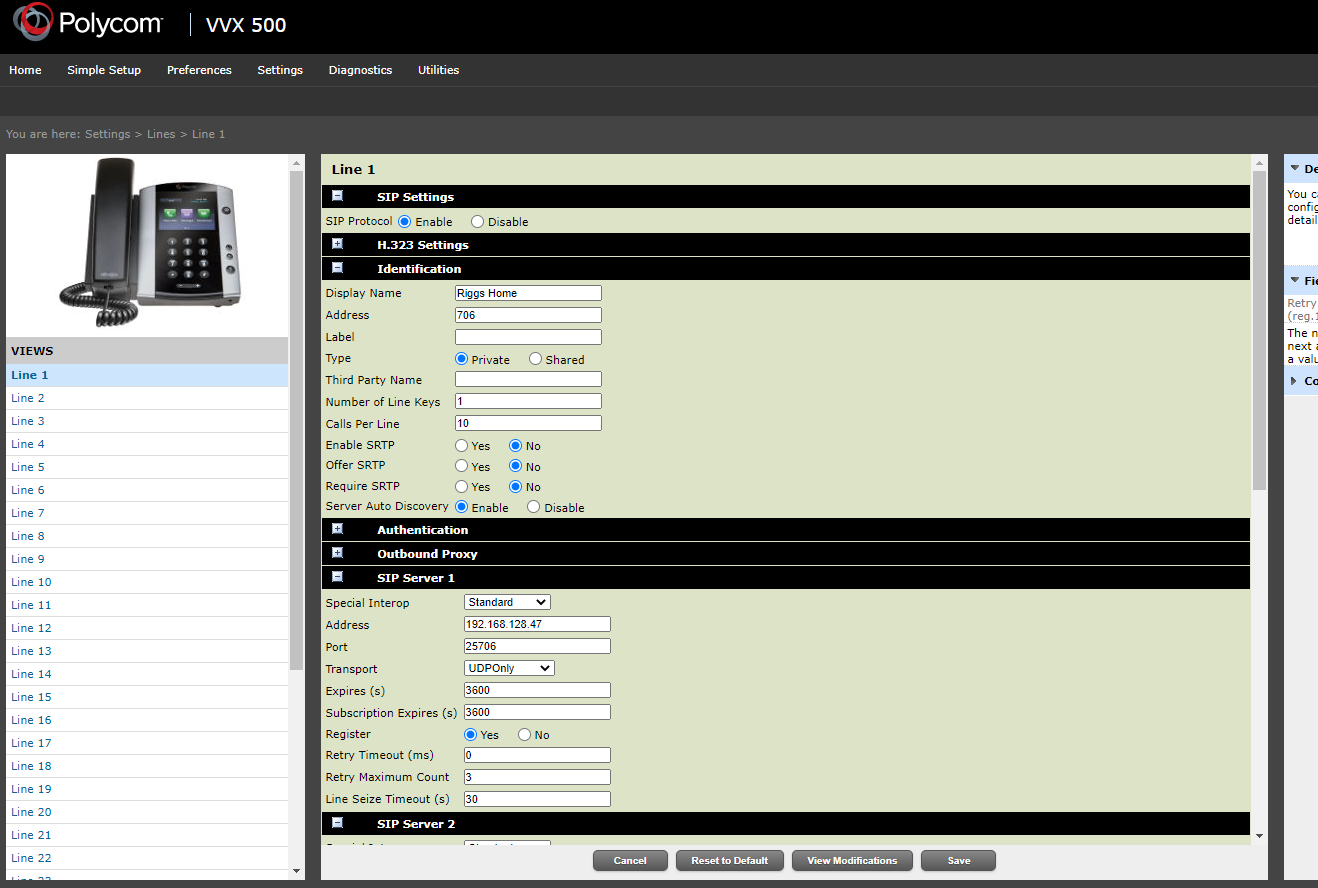
Configuring the Polycom with Incredible PBX is also very easy. Once you plug the Polycom into the network, via wireless or LAN, you should be able to navigate the touch screen settings to the TCP/IP settings by selecting Home –> Settings –> Status –> network –> TCP/IP Parameters; this will display IP Address and network information. Using a browser connected to the same network, you can navigate to the web interface of the Polycom and log in. Default credentials are: UN: Admin PW: 456.
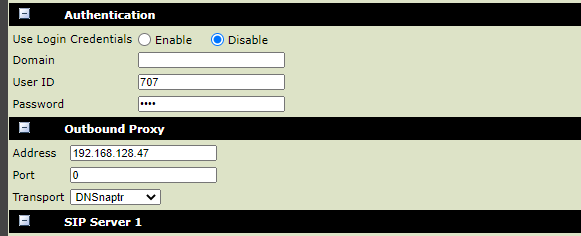
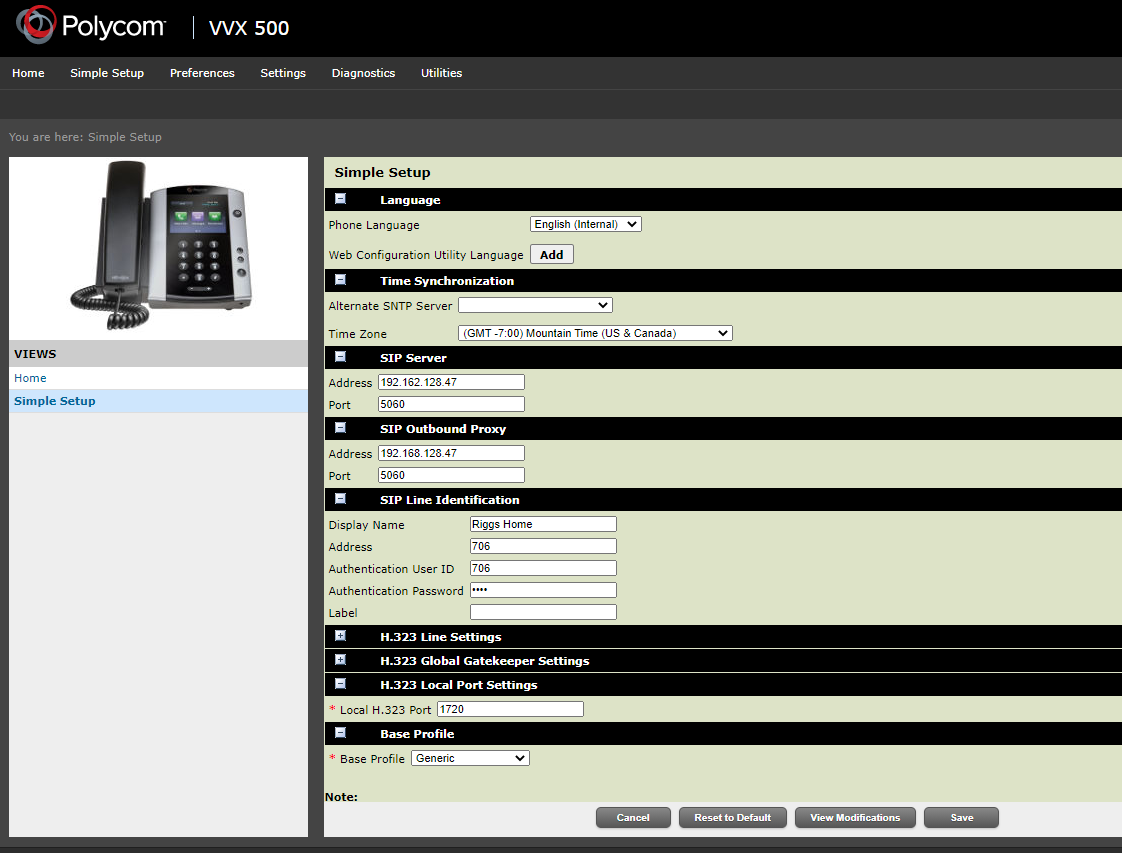
 Setting up the phone to connect to your Incredible PBX server can be done by entering the simple setup mode and inputting the SIP server information. Address is the IP address of your PBX server and port is typically standard 5060. Your outbound proxy will be the same (in most cases). You can add multiple lines to your Polycom phone, but in the simple set up section you will only add one. You will enter your display name and the address of the phone (extension) The authentication user ID and password will also be input and will match what you assign in the extension module of your PBX server. To set up additional lines on the phone, navigate to settings and under the line settings you can setup your additional lines manually. Don’t forget to save your changes.
Maybe you do not have VoIP phones? Maybe you want to use all your analog and cordless phones you used with the phone company? Well you can. VERY Easy. Jump on your favorite shopping website and by an Analog Telephone Adapter. I bought a Grandstream 2 port ATA. Another easy device to provision. Plug into your LAN, identify the assigned IP Address and open the web GUI. Your default password on this device will be admin. This will take you to a status page.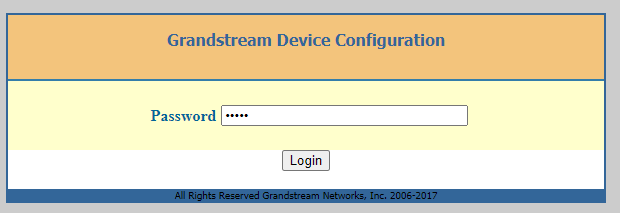
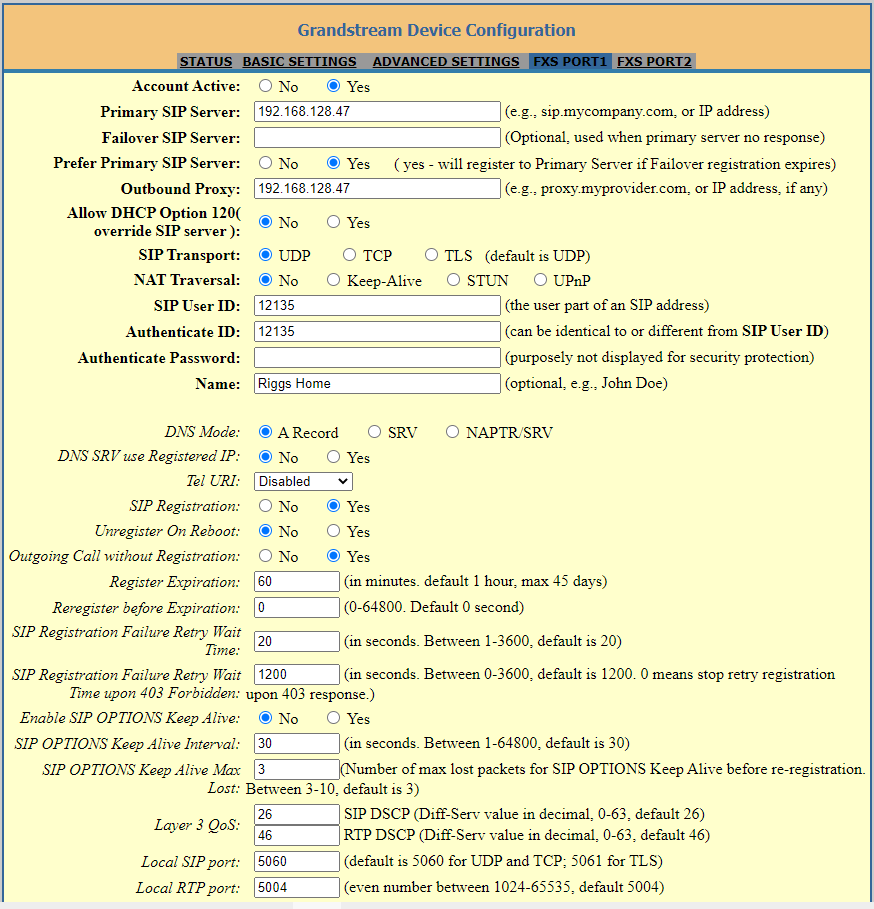
Really, besides changing your password in the basic settings page, you will do all your configuring in the 1st FXS port. I only used the one FXS port and I left all configurations default entering only SIP Server Details and user ID and authentication. User ID information will be the extension assigned in Incredible PBX. You also need to input the authentication password (the one you set in your extension module), but note it will not display on the screen …. this is normal. Now update, apply, and reboot the ATA device. When your device comes back up, you should have dial tone on your port.
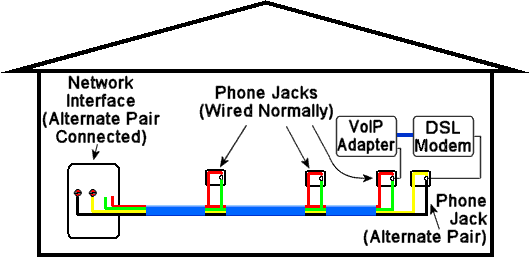
You can back feed this VoIP service throughout the house using existing wiring. From the ATA, plugging your device into a phone jack you can visualize how this is done from this diagram. It looks more complicated than it really is. don’t be afraid to try it. It is nice if you have existing phones in locations you want to use this solution on.
This was a great home project and has worked now for almost a year without issue. It has proven to be robust, I have used many of the features (thank you computer faxing!) and calling is dirt cheap. There are so many articles and videos dedicated to configuring and support, anyone should be able to do this. I hope you try this out and follow the links in this post for any additional help.