 navigate to https://www.oracle.com/cloud/free/#always-free
Enter basic account information, solve the captcha, and verify your email.
Complete the registration information after your email verification and input a payment method. You will need to use a valid credit card and not incur a charge, but you won’t get an account without this.

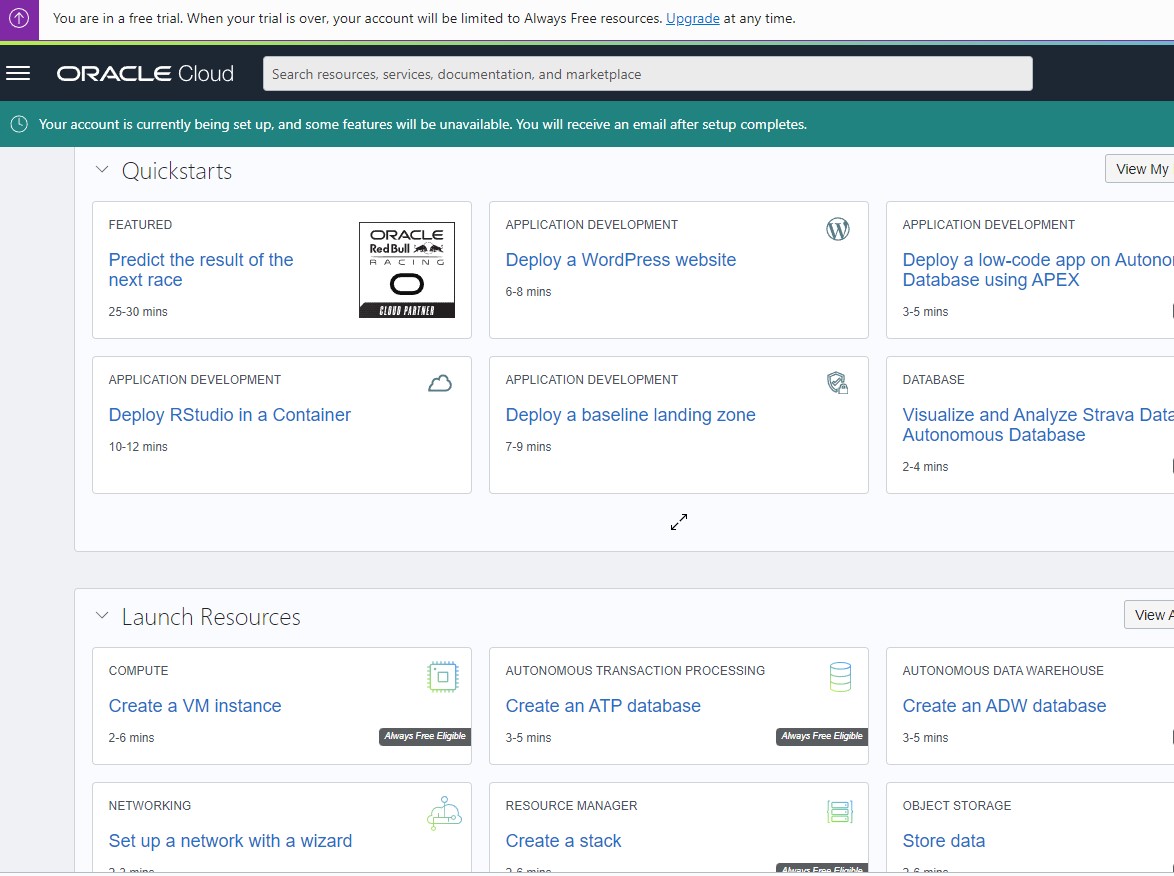
Once you have established an account, you will need to sign in. Your first sign-in will prompt you to select interests so that they can offer services via the dashboard. I stuck with a hobbyist interest label. Once you have made your selections, you will be taken to your cloud dashboard. All “always-free” services will have a tag indicating their eligibility for their free tier. You will also see a purple banner at the top of your page showing you are signed into a free tier account.
I knew what I desired to do when getting this account. I wanted to spin up a virtual machine, throw an OS on there, and start up an application I could test over the internet. To keep this post short and sweet, I will stick to the basics of setting up a VM with an OS, updating the services, making it ready to host an app, and making it accessible over the internet.
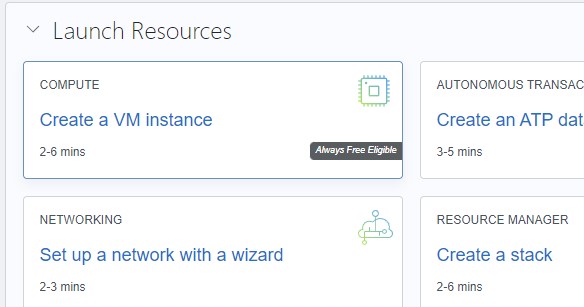
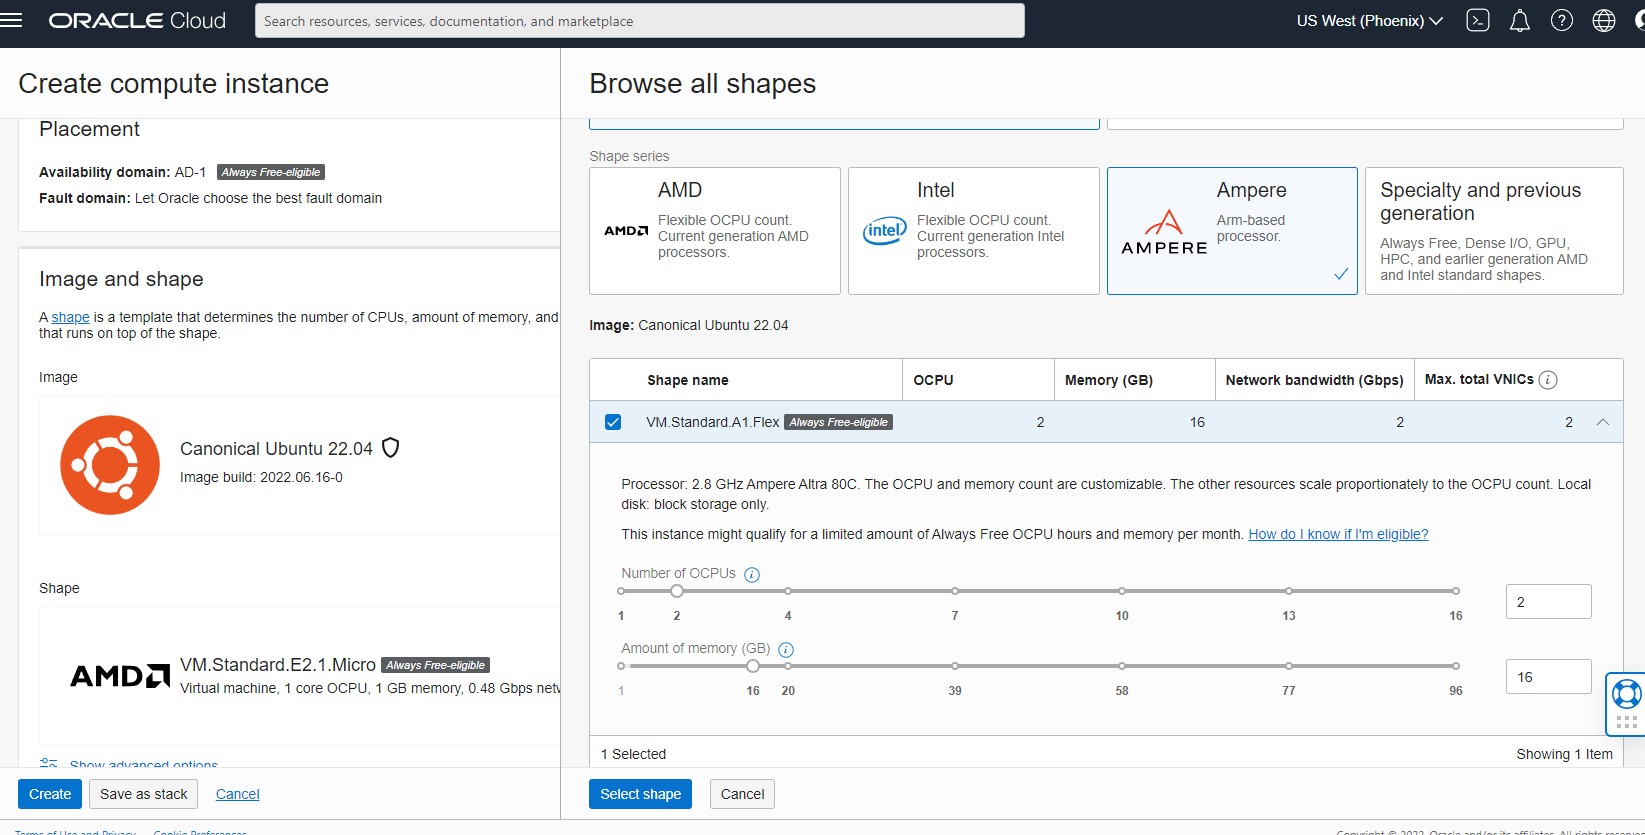
First, on the cloud dashboard, select the button under launch resources that says compute “launch a VM instance.” Clicking the button will launch a cloud compute instance form where we can determine instance requirements. Name your instance, then select edit under image and shape. Under image and shape, I will change the image to Ubuntu and the shape to an Ampere processor with 2 OCPUs and 16G of memory.
For free account tiers, the always free compute literature says as:
- Micro instances (AMD processor): All tenancies get up to two Always Free VM instances using the VM.Standard.E2.1.Micro shape, which has an AMD processor.
- Ampere A1 Compute instances (Arm processor): All tenancies get the first 3,000 OCPU hours and 18,000 GB hours per month for free for VM instances using the VM.Standard.A1.Flex shape, which has an Arm processor. For Always Free tenancies, this is equivalent to 4 OCPUs and 24 GB of memory.
Stay within these limits, and it will always be free.
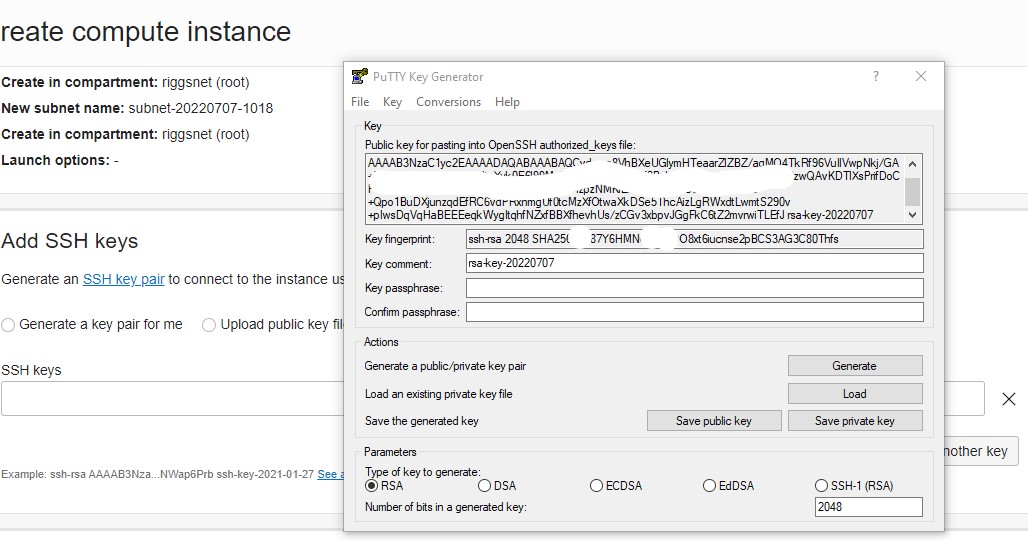
Next, we will need to download or generate your SSH key to connect to the VM instance when created. I am going to develop my key using PuttyGen.
 If you do not have Putty, you can download it from putty.org for free and will include Putty (ssh client) and PuttyGen. Open PuttyGen and generate a key. Save both the public and private key files. Copy the key generated and paste it into the add SSH Keys “paste public keys” box.
 scroll down, leaving the rest of our options set to the preset defaults. Now click the create button.
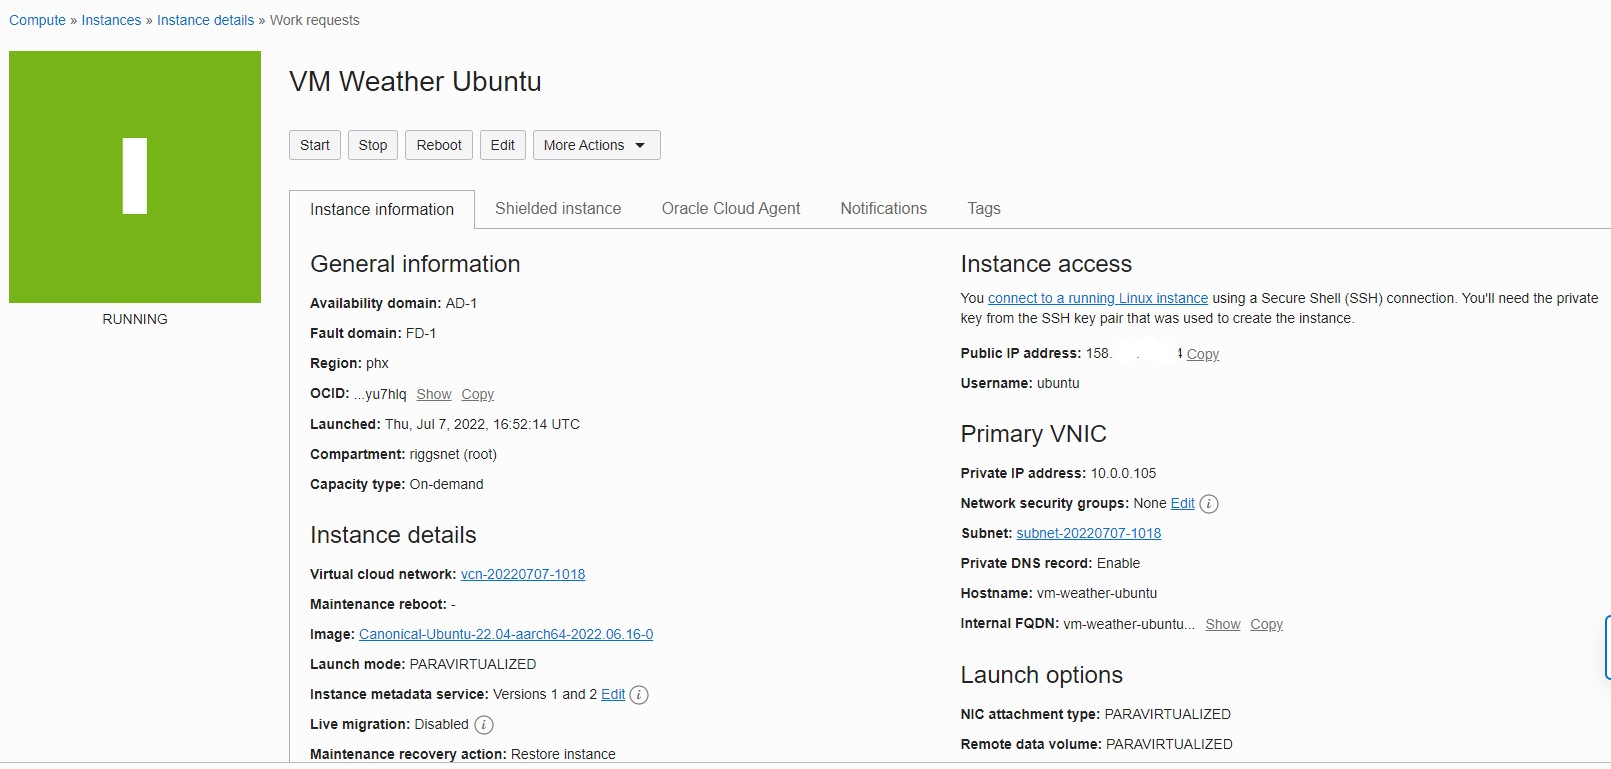
Oracle Cloud will begin creating your VM instance and display an orange block on the screen indicating the process is configuring. The square will turn green and show “running,” meaning the VM is up. The listed information will provide you with your public IP address. Copy your IP address and open a Putty instance (not PuttyGen).
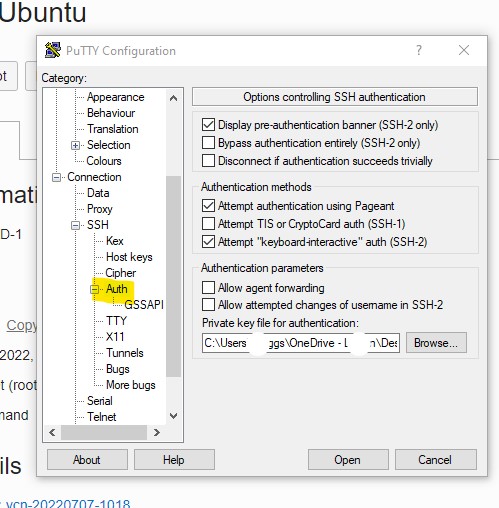
Enter your provided user name and IP address in the Host box (ex. [email protected]). You will also need to upload your private key. Expand the SSH section under the category section on the left-hand side of Putty. You will see a line called AUTH. click this, and you will see an area to the right with a box to click and navigate for the public key file.
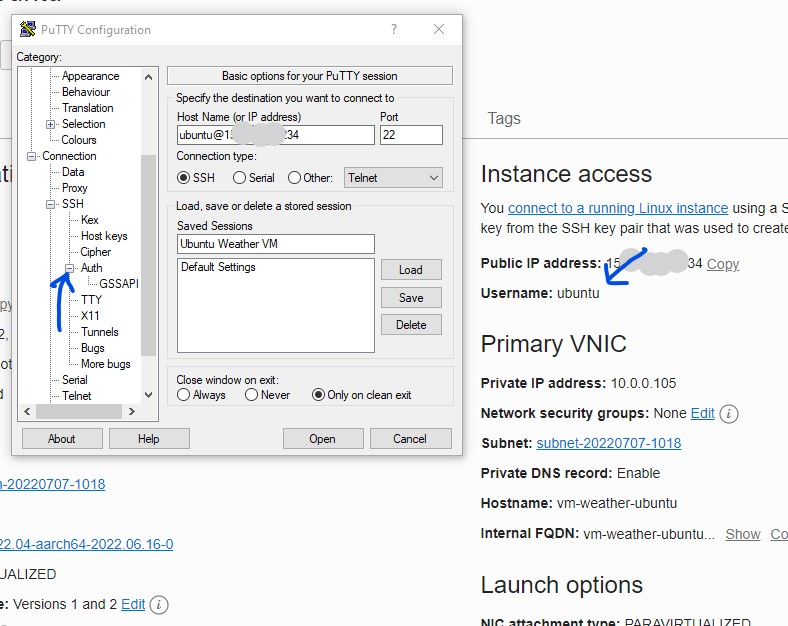
To save this information so that you don’t have to input this information every time you open a putty session, scroll to the session category on the left-hand side of the putty menu. then type a saved session name and hit the save button.
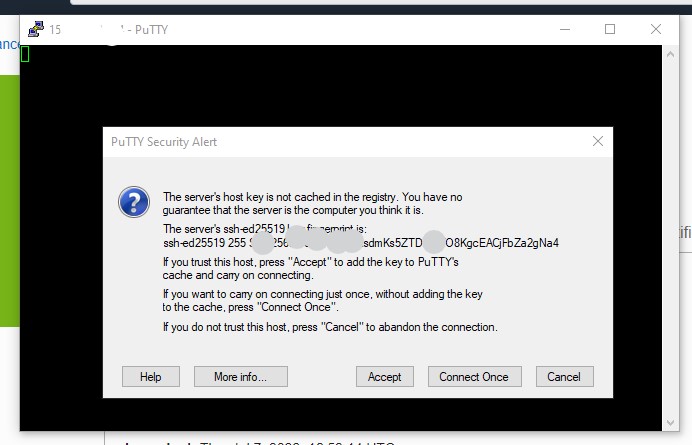
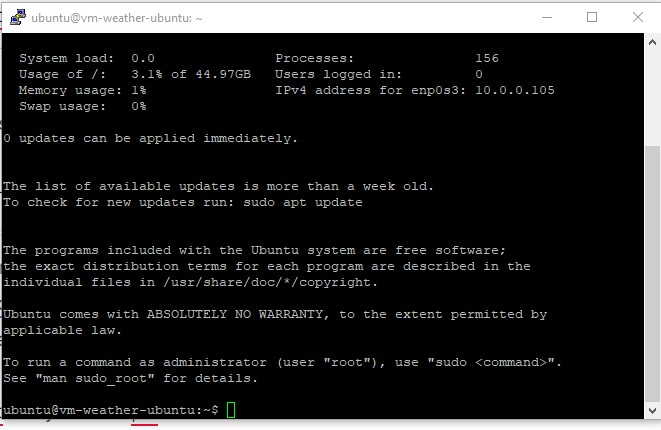
Now launch your session by clicking the “open” button. A terminal will open. Accept the security alert, and you will be signed in to your VM Instance.
 Now at the prompt, let’s ensure our OS is up to date. Enter the following commands one at a time:
 Once your packages are up-to-date, you have a fully functional virtual machine. Do you want to test apps? Go ahead! Want to install docker containers? Do it! This is just like having a machine at home in your lab or production environment. If you want you can even install a GUI, RDP, and then use a remote desktop and run a remote desktop instance. Oracle’s free tier is hands down the best free tier you can use on the market today.