I have always been intrigued by REST APIs, how they work, how apps use them, and how I could play with APIs in practical projects of my own. In sleuthing the internet, I found that not only are others interested in the same thing, but many people have made open source projects that are useful in production environments and use API data from generously free data sources.
 A project that really caught my attention was Eric Elewin’s Pi Weather Station application. This application was intended to be built on and run on a RaspberryPi single-board computer (SBC). The application aggregates API data from 3 different sources and outputs a fantastic visual map charting weather data and forecasts. In the current environment, SBCs are very hard to come by, or prices are so high that they are not worth purchasing. However, I wondered if I could get this to run on a virtual machine (VM) before I moved it to a spare RaspberryPi I have laying around waiting for a project.
The GitHub App could have been titled “Weather Station APP” instead of Pi-Weather-Station. To my delight, it works on every OS I tried it on (Linux based), including different VMs. I could quickly get this application to run on VMs with ARM and AMD processors running ubuntu, a RaspberryPi running Raspian OS, Ubuntu, and Linux KDE Plasma. I think any Linux distribution will work as long as you can install nodejs, NPM, and a GUI.
If you try to install a package you don’t need, your OS will tell you that it is installed, and you can move to the next step. To show the installation process, I will walk through the process I used on my virtual machine. You can follow this for an installation on a RaspberryPi as well.
If you want to try this on a VM first and are interested in using a no-cost VM through Oracle Cloud, check out my recent post here.
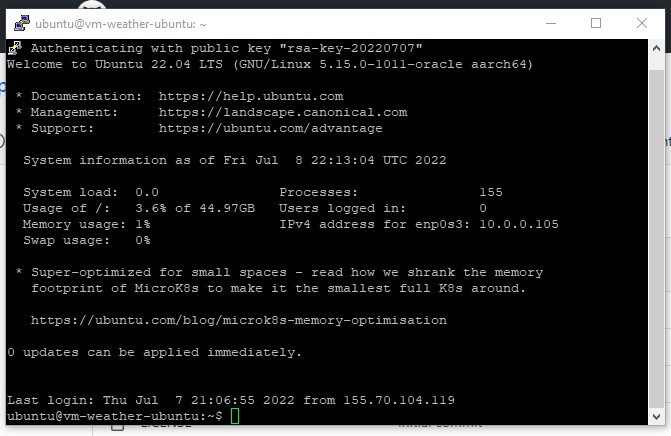
Log into or ssh into your machine on which you will install the application.
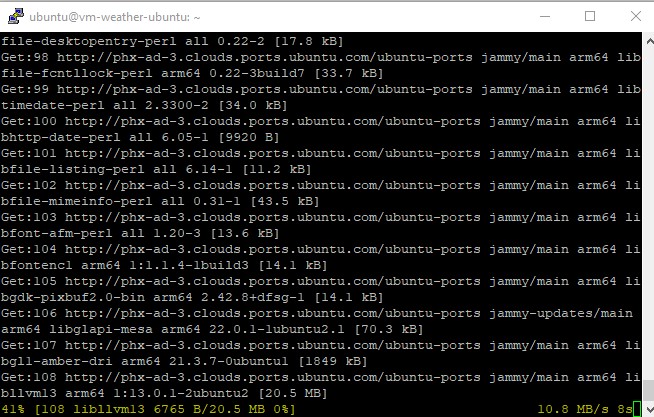
 Install NPM:
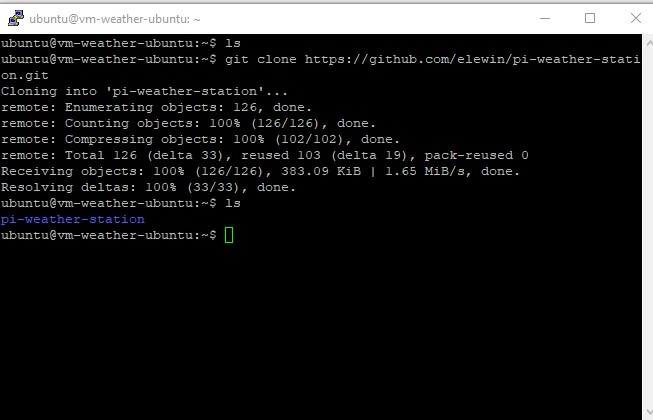
Now we can clone the application from GitHub:
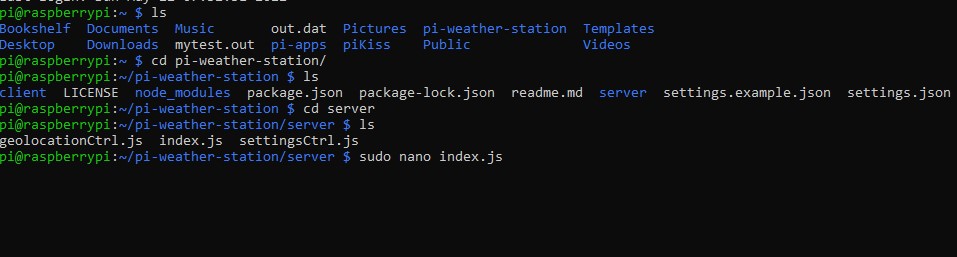
 cd into pi weather folder:
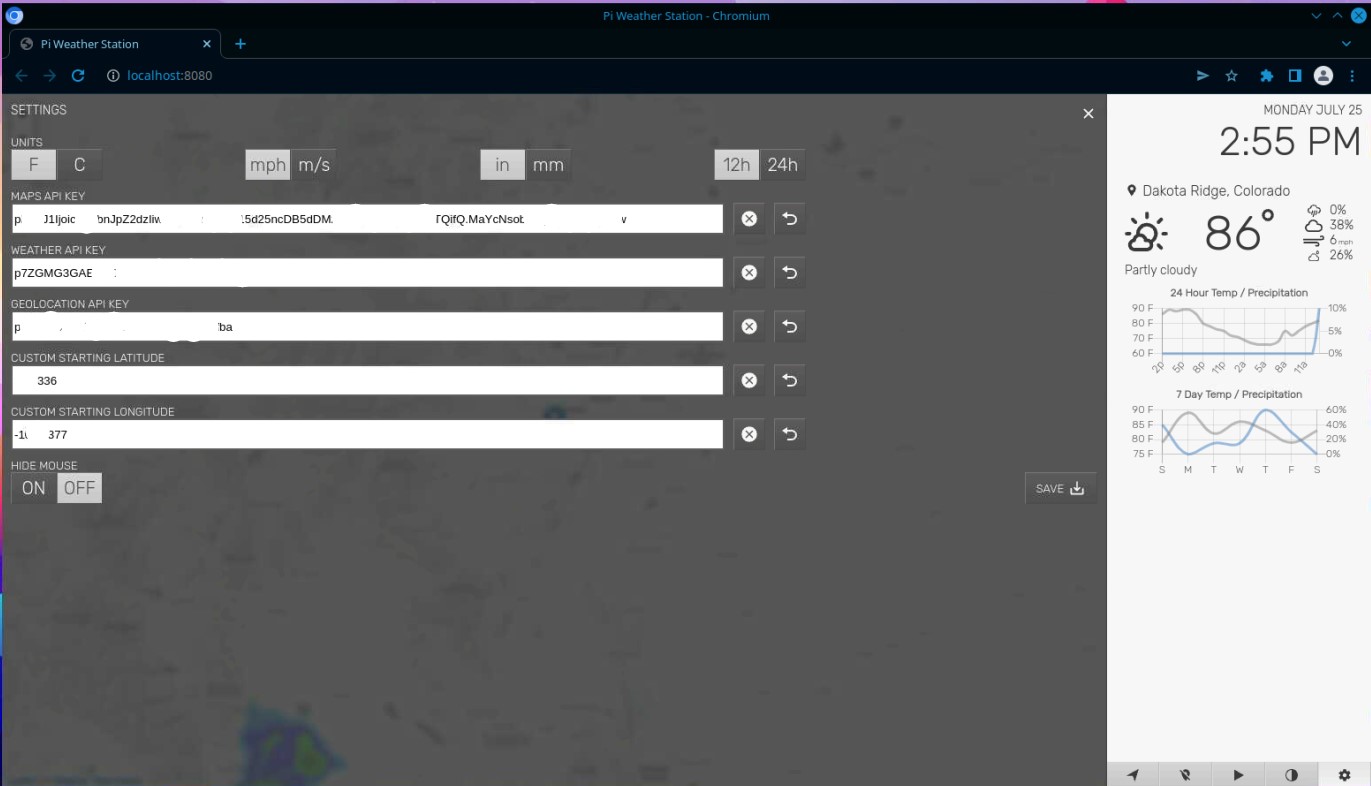
You should see the App confirm starting on port 8080, and a web browser will automatically launch and display the application settings page.
You can stop the App from the terminal screen by pressing CTL C.
With the App running, we can start configuring our application to pull data from various sources.
You are going to need to set up free accounts and create API Keys at the following sites:
- Mapbox
- Tomorrow io
- Location IQ (Geo Coding)
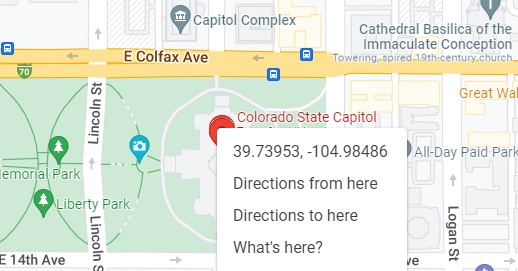
Also, you will want to go to google maps, place a PIN at your desired selected home location, and right-click to get your latitude and longitude location. The Lat/Long format should be no more than 4 decimal places (i.e., 42.3123, -107.2312). Custom coordinates are optional, but you may not get an API pull or a “did you input your API Key” error if you don’t add the cords (I did on all OS I installed).
 I will not walk through setting up accounts on these sites as it is straightforward. after creating an account at the respective sites, you simply need to navigate to the developer or API section and create an API Key, then record it for placement into the application. After inputting your API keys into the App and entering your Lat/Long coordinates, click the save button. You should see data populate like a map and sidebar with weather data.
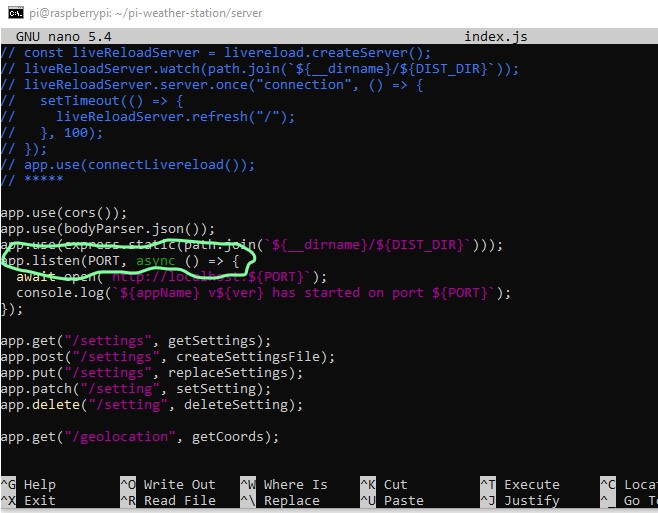 The server will now serve the App across your network.
Before updating the above code, you want to stop the application, then start the application again after you have saved the /server/index.js file.
For those new to editing these files, you can change into the /server directory (from the pi-weather-station directory) and perform:
This will open the file, and you can make your changes, save with CTL X, confirm with Y, then Enter to save over the file name.
Now, using another device connected to the same local network, navigate to the IP address of the host machine running the weather app and port 8080 (i.e., 192.168.122.13:8080). If the configurations are set up correctly, you will see your application populate in the web browser. Hit the play button in the bottom right-hand sidebar and watch it send predictive weather traffic on screen.
if it is your first time opening the editor, you will be given a choice of the editor to use. Select nano. 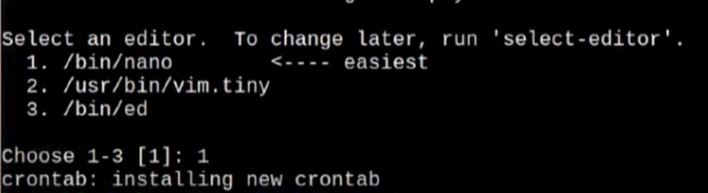
when the nano editor displays, scroll to the bottom of the file and enter:
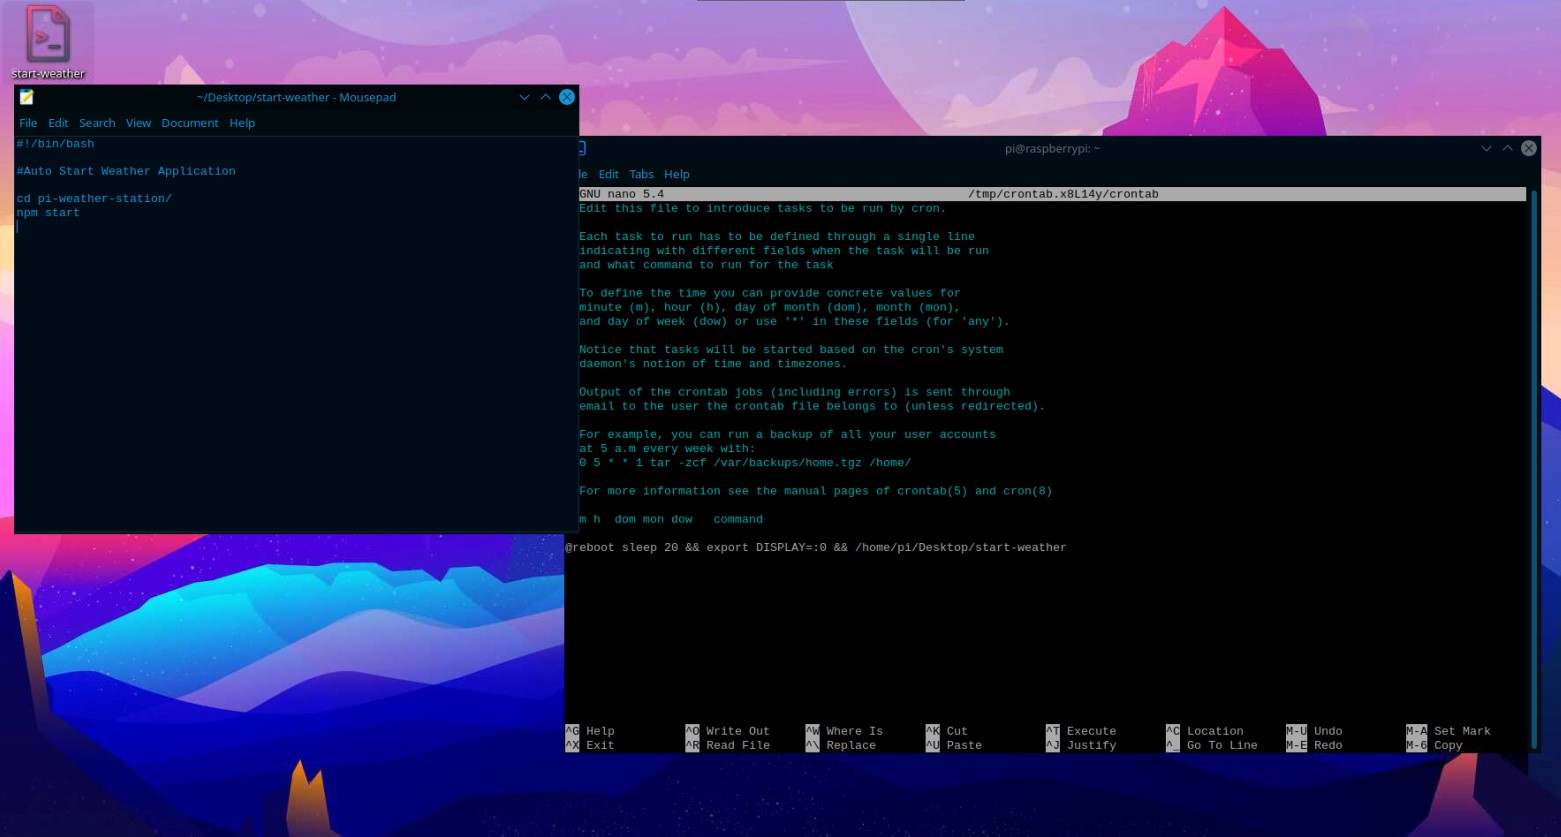 You would need to change the user name of the path (if different) and the file’s location if you saved it somewhere else. This command says that at reboot, use display 0 after waiting 20 secs (from reboot) and running the start-weather script.
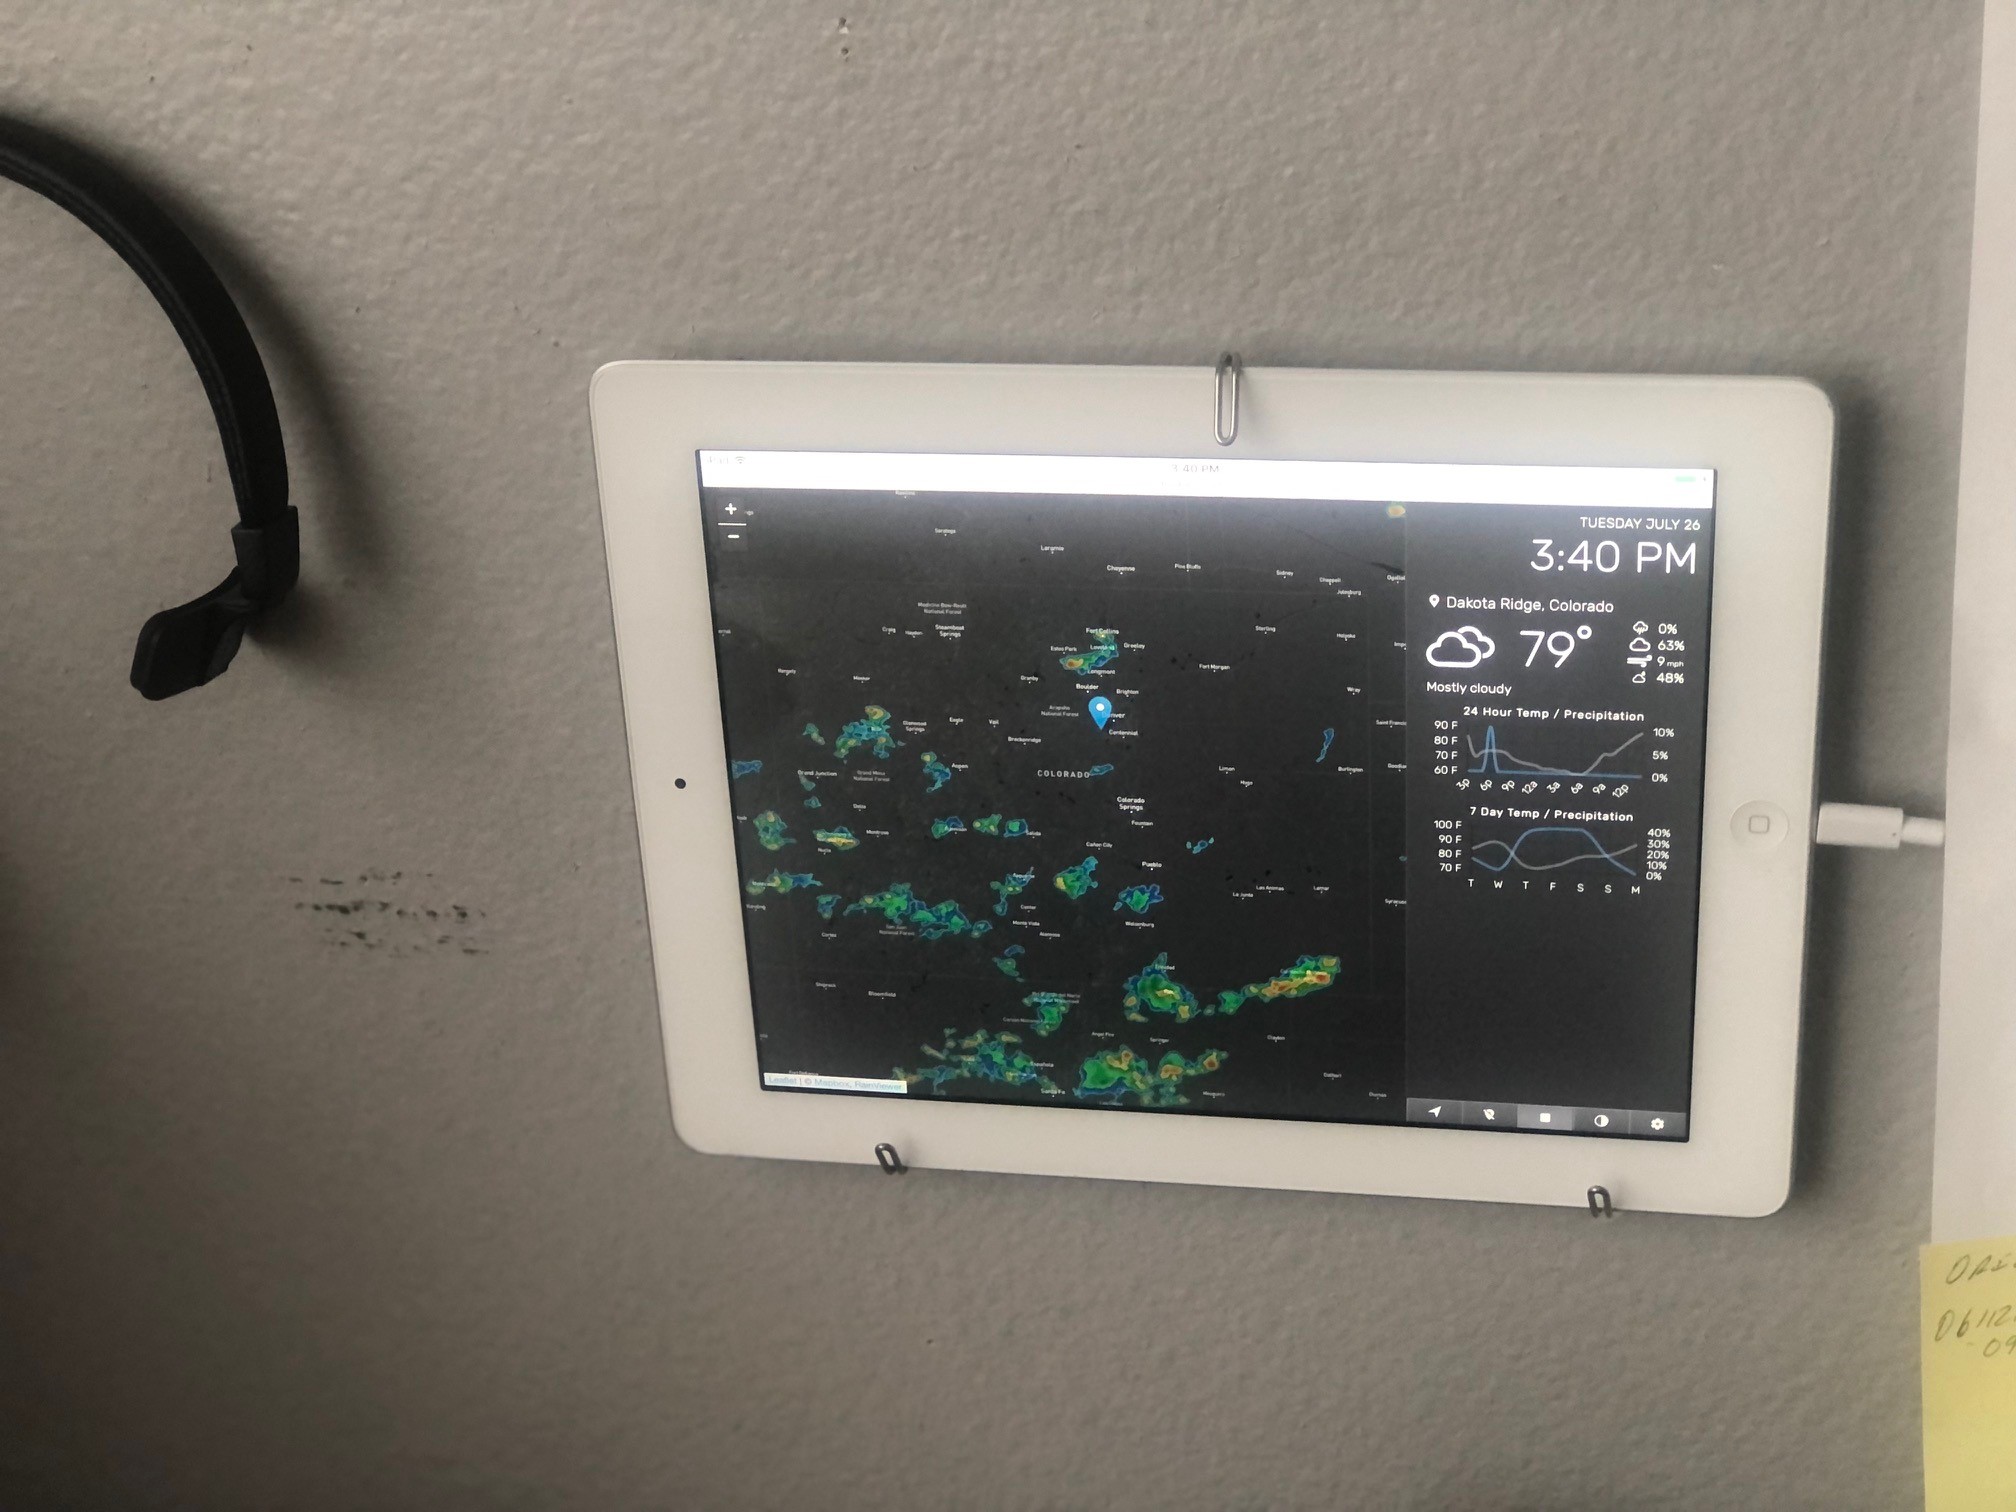
I really liked setting up this project. Not only was it fun to retrieve my own “developer APIs” from different sources, but being able to plug them in and generate results was really cool! I have been running the Application for over a week now. It seems to be very accurate with all the “current” weather and the storm cell mapping matches what you see with your own eyes. However, I will say that the predictive % for rain, etc. is like the local news sources, sometimes it is right, sometimes it’s really off! For example, it showed a 2% chance of rain, and it was downpouring! To be fair though it did say it was raining and humidity was correct, and storm cell graphics confirmed as well.
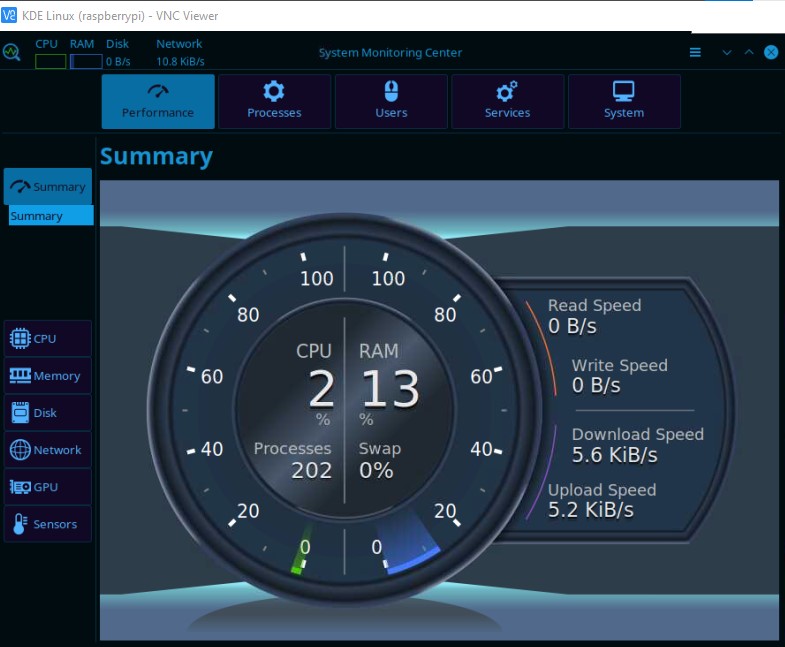 This is a fast project that anyone can really do. Again, I am displaying the weather app on an old iPad I hung on the wall. The iPad is always doing its thing. I had a power reboot and everything came right back up. Also, I am still running this on a RaspberryPi SBC (using my VM for other fun testing now), and it really is not taking up very many resources. I will probably add additional applications to the Pi. Have fun trying this out and learning about how APIs are used in applications. This is a good stepping stone to creating your own application and aggregating data from multiple sources!
This is such an awesome and cool project! Thank you for sharing these instructions. Love how it looks on your iPad by the way!
Thank you Ezzy! It really was fun! I hope others try it and like it as well!